
If you want to learn how to paint a room like a professional, the secret isn't in the brushstroke—it's in the prep work. This is the part everyone wants to skip, but it’s the single most important phase that separates a beautiful, lasting finish from a job you'll have to redo in a year.
Laying The Groundwork For a Perfect Paint Job
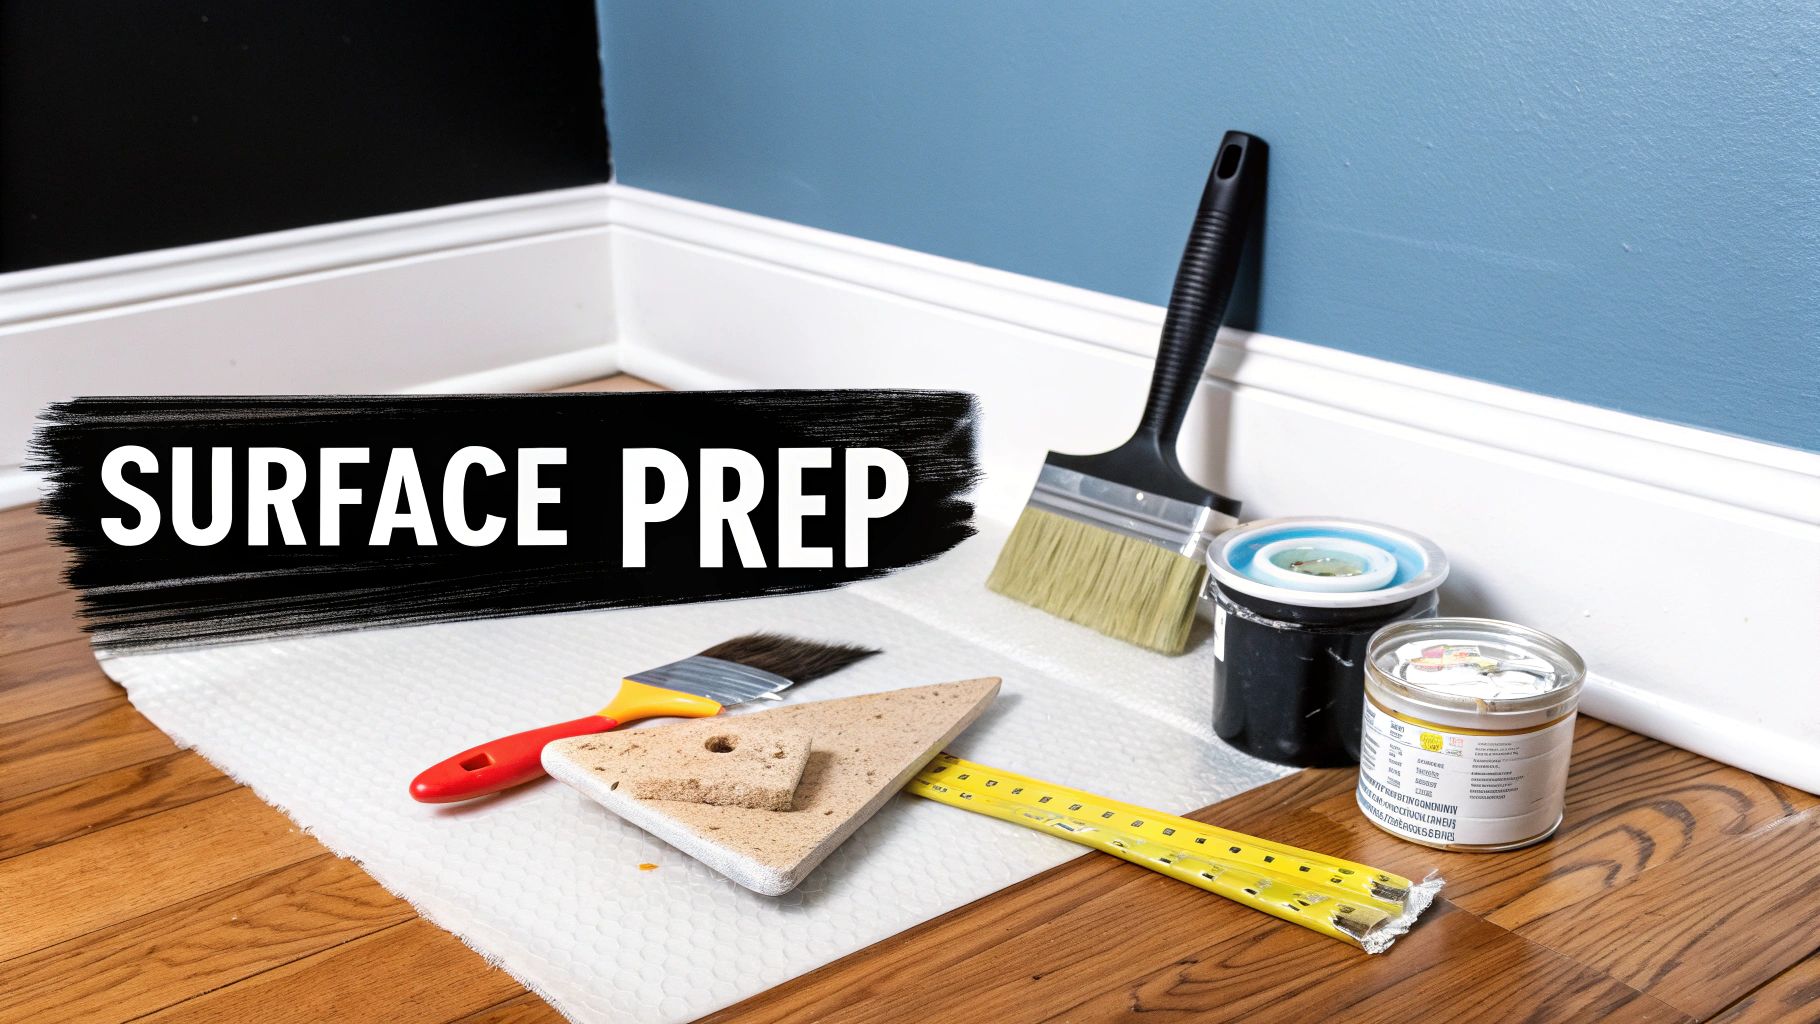
Most people get caught up in the color, but any pro will tell you that the final result is dictated by what you do before the paint can is ever opened. This isn't just a suggestion; it's a non-negotiable part of the process.
It all starts with getting an empty room. Ideally, you’ll move every piece of furniture out. If that’s not an option, push everything to the center and cover it all with heavy-duty plastic sheeting. Don't forget to remove curtains, wall art, and all your outlet and switch plates.
Protecting Your Space
With the room cleared, your floors are the next priority. Forget using old bedsheets—paint bleeds right through them. Invest in canvas or plastic-backed drop cloths for real protection against drips and splatters.
Make sure your drop cloths cover every square inch of the floor, tucked tightly against the baseboards. This small step will save you from the nightmare of scraping dried paint off your hardwood or trying to scrub it out of your carpet. We never, ever skip this.
The Critical Importance of Surface Prep
This is where the real work begins. Paint is not magic; it won’t hide imperfections, it will highlight them. It also won't stick to dirty, greasy walls. The first thing to do is wash your walls with a mild detergent solution to get rid of dust and grime. A sponge mop is perfect for this, especially for reaching up high.
Next, you need to play detective. Go over every wall and look for nail holes, dings, and cracks. Fill them with a good quality spackling compound using a putty knife. If you’ve got bigger cracks or damage, you might need to step up to joint compound and mesh tape.
Once the spackle is completely dry (check the container for cure times), it’s time to sand. Grab a fine-grit sanding block—220-grit is usually perfect—and gently sand every patch until it's completely smooth and flush with the wall. This is how you get those invisible repairs.
"The difference between a DIY job and a professional finish is almost always found in the prep work. Pros understand that paint is only as good as the surface it's applied to. Skipping steps like cleaning, patching, and sanding is the most common mistake we see."
This level of detail is exactly why professional work looks better and lasts longer. In fact, solid prep work accounts for up to 80% of a quality paint job's success. When you cut corners here, you’re looking at poor adhesion and premature failure—surfaces that were prepped badly are 70% more likely to need a repaint within five years. You can discover more insights about professional painting standards and see how they make a difference.
Before you can get to work, you need the right gear. Here's a rundown of everything a professional keeps in their toolkit to ensure a flawless job from start to finish.
Essential Tools and Materials Checklist
| Category | Essential Items | Pro Tip |
|---|---|---|
| Protection | Canvas drop cloths, plastic sheeting, painter's tape | Use high-quality tape like FrogTape for the sharpest lines. Remove it before the final coat is completely dry. |
| Preparation | Spackling compound, putty knife, 220-grit sanding block, sponges, mild detergent | A pole sander can make sanding walls much faster and easier on your back. |
| Application | High-quality primer, interior paint, 2.5-inch angled brush, 9-inch roller, roller covers, paint tray | Match your roller nap to your wall texture: 3/8-inch for smooth walls, 1/2-inch for light texture. |
| Cleanup | Rags, 5-gallon bucket for cleaning, plastic bags for roller storage, paint can opener | Wrap your wet brushes and rollers tightly in plastic if you’re taking a break to keep them from drying out. |
Having these items on hand before you start means you can work efficiently without any frustrating interruptions. It's a key part of planning a successful project.
Calculating Your Paint Needs
The last thing you want is to run out of paint halfway through a wall. A quick calculation can save you a world of trouble.
Here’s the simple formula we use:
- Find the perimeter: Add the length of all the walls together.
- Calculate square footage: Multiply the perimeter by the wall height.
- Subtract windows and doors: A standard door is about 20 square feet, and a window is roughly 15 square feet. Subtract these from your total.
- Determine gallons needed: A gallon of paint usually covers 350-400 square feet. Divide your final number by this to see how many gallons you need for one coat.
Always plan for two coats. It’s the only way to get that rich, uniform color you’re after. This little bit of math prevents guesswork and ensures you buy the right amount from the start.
Setting the Stage: Priming and Taping for a Pro Finish
Now that your walls are clean and smooth, it's time to lay the groundwork for a flawless paint job. This is where priming and taping come in, and trust me, this isn't the place to cut corners. Skipping these steps is what separates a frustrating DIY project from a truly professional result with rich color and razor-sharp lines.
People ask me all the time if primer is still necessary, especially with all the "paint-and-primer-in-one" products out there. While those are fine for simple touch-ups, a dedicated primer coat is the only way to guarantee a perfect finish. Think of it as the ultimate foundation—it seals the surface, ensures your final color looks exactly like it did on the swatch, and makes the whole job last longer.
To Prime or Not to Prime? That Is the Question
You don't need a separate primer for every single job, but there are definitely times when it's non-negotiable. If you're facing any of these situations, a coat of primer is a must:
- Drastic Color Changes: Trying to paint a light beige over a deep navy or a bold red? A good primer creates a neutral canvas, which means you'll use far fewer coats of your expensive topcoat to get that true, vibrant color.
- Brand New Drywall: Fresh drywall is basically a sponge. It will soak up your paint, leaving you with a blotchy, uneven mess. A quality PVA (polyvinyl acetate) primer seals that porous surface so the paint glides on smoothly.
- Tackling Stains and Smells: Pesky water stains, smoke damage, or years of kitchen grease can bleed right through layer after layer of paint. A dedicated stain-blocking primer, usually an oil or shellac-based formula, is engineered to lock those problems away for good.
- Painting Over Old Finishes: If you’re trying to put a modern water-based latex paint over an old, glossy oil-based finish, you're asking for trouble. Without a bonding primer to create a bridge between the two, your new paint will eventually chip and peel right off.
Picking the right primer is just as crucial as using one. For most standard interior walls, a high-quality latex primer will do the trick. But here in South Florida, if you're working on a humid bathroom in Miami or a kitchen backsplash, investing in a moisture-resistant or stain-blocking primer is a much smarter move.
The Art of the Perfect Tape Line
With priming out of the way, your next mission is to master the tape. This is the secret to getting those incredibly satisfying, crisp lines between walls, trim, and ceilings. Don't just grab any roll; a quality painter's tape with medium adhesion is your best bet for things like cured baseboards and window frames.
Apply the tape in short, manageable strips—I find 12 to 18 inches works best. Overlap the ends just a tiny bit to keep your line perfectly straight. Now for the most important part: press that tape down firmly. Don't just give it a quick pass with your finger. Grab a flexible putty knife or even a credit card and run it along the edge to create an iron-clad seal. This is what stops paint from bleeding underneath.
One of the biggest mistakes I see is people waiting for the paint to completely dry before pulling the tape. That’s a recipe for disaster. The paint film hardens and ends up tearing right off the wall with the tape, ruining your perfect line.
Timing is everything. You want to pull the tape when the final coat is dry to the touch but hasn't fully cured—usually about one to two hours after you finish painting.
When you're ready, pull the tape off slowly at a 45-degree angle, pulling it back on itself. This shearing motion cuts the paint film cleanly, leaving you with that razor-sharp edge you were aiming for. If you feel any resistance, you can gently score the edge with a utility knife before pulling. It’s this attention to detail that is the core of how to paint a room like a professional.
You’ve done the hard prep work, and now it’s time for the magic. This is where the room starts to feel like yours, where the color you agonized over finally goes on the walls. Getting that flawless, professional look hinges on two key skills: cutting in and rolling.
Nail these, and you’ll have a seamless, uniform coat of paint. Get them wrong, and you're left with splotches and visible lines. The trick is understanding how they work together—cutting in is the fine detail work, and rolling covers the big areas. You have to get the sequence and timing just right.
The Art of Cutting In (Without Tape)
Cutting in means painting all the edges a roller can't reach: where the wall meets the ceiling, along the trim, and deep into the corners. While tape feels safe, most pros skip it and learn to cut in freehand. It’s faster, cleaner, and gives you a much sharper line once you get the hang of it.
Your best friend for this job is a quality 2.5-inch angled sash brush.
Don't just dunk the whole brush in the paint. Dip only the first third of the bristles, then gently tap (don't wipe!) both sides of the brush on the inside of your paint can. This loads it with just enough paint, preventing drips and giving you total control.
Start by painting a line about a half-inch away from the edge. Then, on your second stroke, gently press the bristles so they fan out slightly. Use that sharp, angled edge to glide the paint right up to the line. This two-pass method is the secret to a perfect edge without getting paint all over your ceiling or trim.
Getting a Flawless Finish with a Roller
As soon as you’ve cut in a 2- to 3-inch band around one wall, grab your roller. You need to roll out the main part of the wall while the cut-in paint is still wet. We call this "maintaining a wet edge," and it’s non-negotiable if you want the brushed and rolled sections to blend perfectly. If that edge dries, you’ll see a frame around your wall—a dead giveaway of a DIY job.
The steps below are a great reminder of why that prep work is so crucial for what you're about to do.
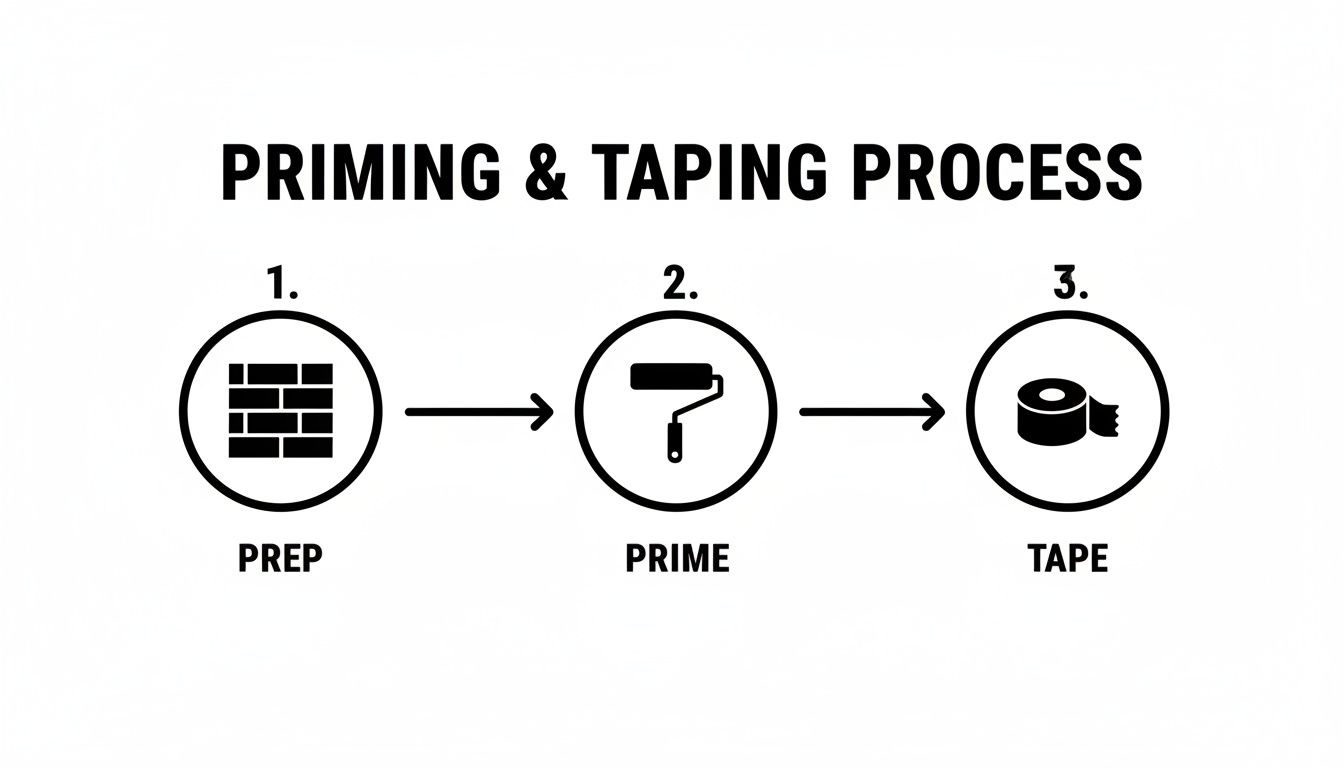
Think of priming and taping as the foundation. Without it, even the best rolling technique won't give you the finish you want.
Pro Tip: Don't cut in the entire room before you start rolling. Work one wall at a time. Cut it in, then roll it immediately. That's how you keep that wet edge and get an invisible blend.
To load your roller, dip it into the deep end of your paint tray. Then, roll it back and forth on the ribbed ramp until the cover is evenly saturated but not dripping. This is key. An overloaded roller is what causes drips, splatters, and a patchy finish.
The "W" Method: How the Pros Roll
Random strokes won’t cut it. To get even coverage without ugly lap marks, you need a system. The "W" (or "M") pattern is the go-to technique for professionals for a reason.
Start a few inches from the corner and about a foot down from the ceiling. Roll a big "W" on the wall, roughly 3 feet by 3 feet. Without lifting the roller from the wall, fill in the pattern with straight, parallel strokes. This distributes the paint evenly across the section.
To finish, lay it off with one final set of light, top-to-bottom strokes. This smooths everything out, erasing any roller marks and leaving behind a perfectly consistent sheen.
This professional method isn't just for looks—it’s about durability. Here in South Florida, a pro two-coat system extends the life of a paint job by 300% compared to a single amateur coat. That's the difference between a beautiful finish that lasts and facing an average repaint cost of $5,000 in just a few years. Professionals typically use 3/8-inch nap rollers for smooth walls and can cover 350-400 square feet per gallon. You can find more industry painting statistics that show how pros get such long-lasting results.
Choosing the right roller cover is just as important as your technique. The texture of your wall dictates the "nap" (the thickness of the fibers) you need.
- Smooth Walls: Go for a short nap, like 1/4-inch to 3/8-inch.
- Light Texture (like orange peel): A medium 3/8-inch to 1/2-inch nap is perfect.
- Heavy Texture (stucco, popcorn ceilings): You'll need a thick nap of 3/4-inch or more.
Using the wrong one can starve the wall of paint or, even worse, add a texture you never wanted. It’s a small detail that makes a huge difference.
Putting on the Finishing Touches and Wrapping Up
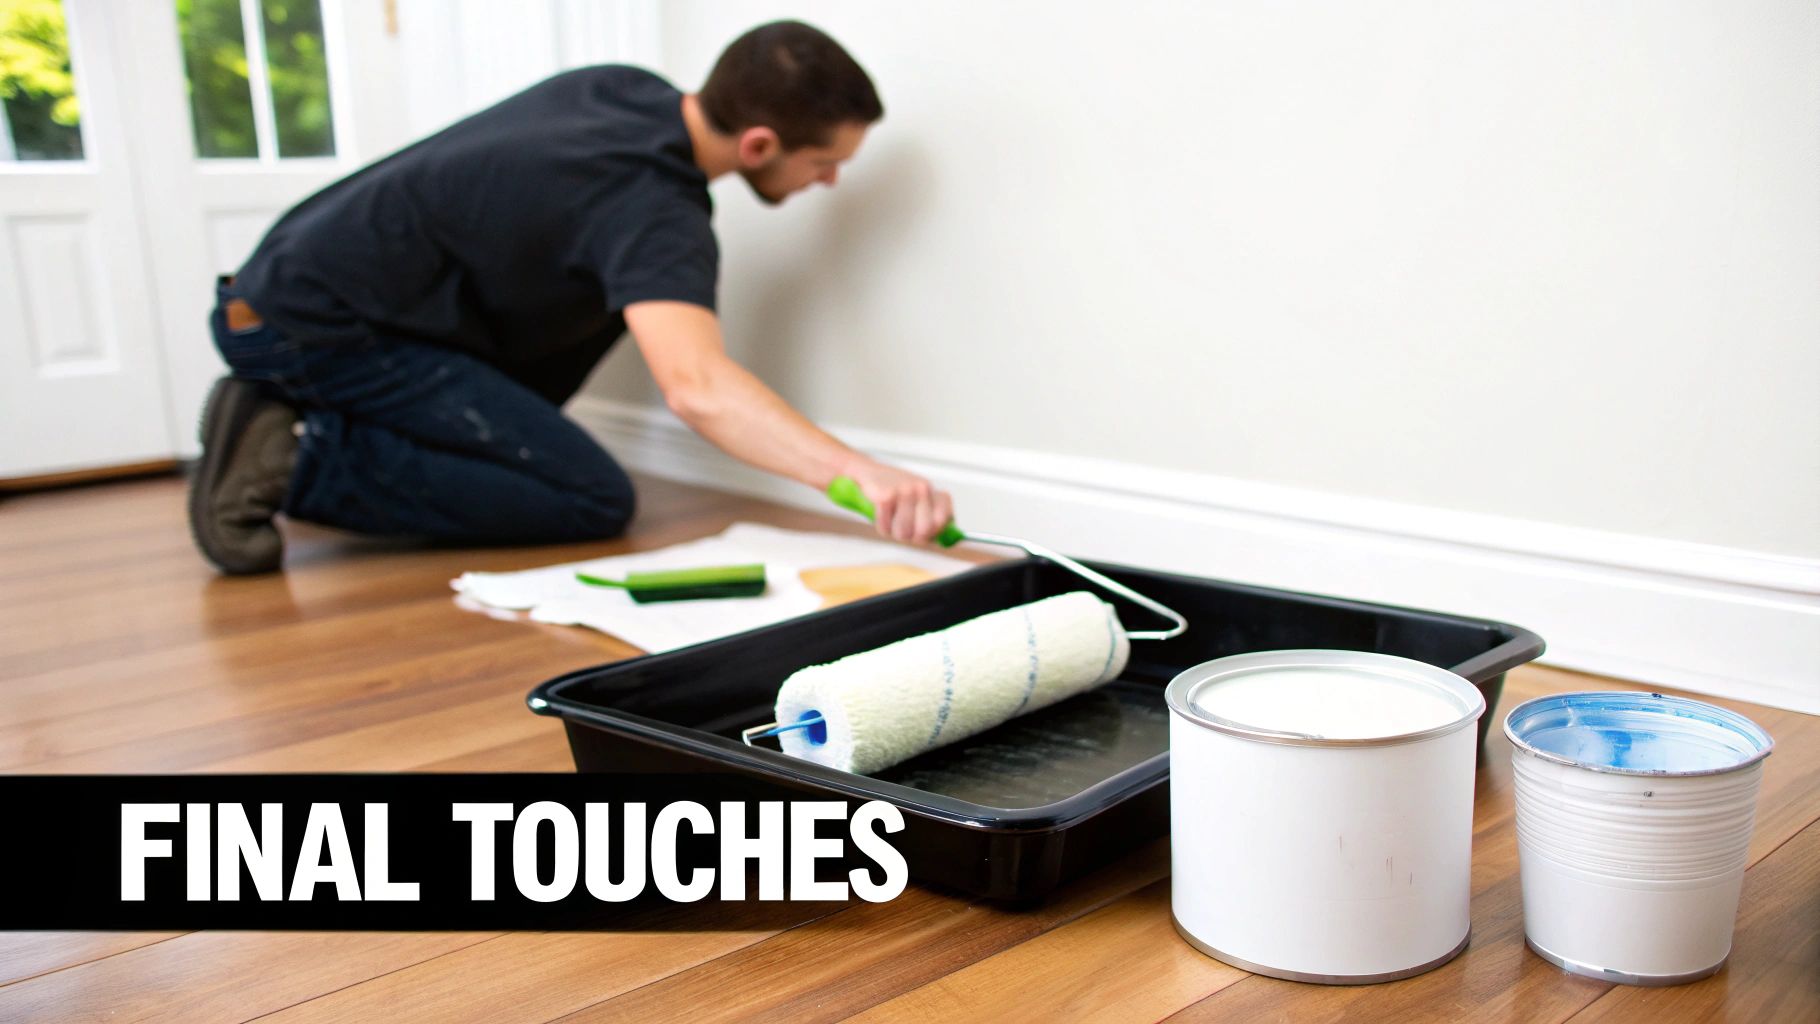
This is where the magic really happens. The final steps are what separate a decent DIY job from a truly professional-looking result. It’s easy to get tired and rush through the last bit, but taking your time here ensures all your hard work pays off with a polished finish that you can be proud of.
From that crucial second coat to the final inspection, think of this as the victory lap. It’s all about the details.
The All-Important Second Coat
I can't stress this enough: one of the biggest mistakes amateur painters make is skipping the second coat. Sure, the color might look okay after the first pass, but a second coat is absolutely essential for achieving that deep, uniform color and durable sheen you want. It's your chance to cover any thin spots or imperfections you might have missed.
Timing is everything. You need to let that first coat get dry to the touch, but don't wait until it's fully cured. If you go back in too soon, the roller can literally peel the first layer of paint right off the wall, creating a sticky, frustrating mess.
Patience is a painter's best friend. Always check the paint can for the manufacturer's recommended recoat time, which is usually around 2 to 4 hours for latex paints. Here in humid Miami, I'd give it an extra hour just to be safe.
When you're ready, just repeat the process. Use the same cutting-in and rolling techniques as before, working one wall at a time and keeping a wet edge to get a seamless blend. This second layer is what delivers that rich, solid color you see in professionally painted homes.
The Pro-Level Order for Trim and Ceilings
If your project involves more than just the walls, the order you paint things in makes a huge difference. Following a specific sequence is how pros get those razor-sharp lines and minimize the tedious work of taping and touching up.
For the cleanest results, stick to this workflow:
- Ceiling First: Always, always paint the ceiling first. This way, any little drips or splatters land on surfaces you haven't painted yet. No stress.
- Walls Second: Once the ceiling is dry, tape it off where it meets the wall and get your wall color on. Don't sweat being perfectly neat around the baseboards just yet.
- Trim and Doors Last: Finally, paint your baseboards, door frames, and window sills. This allows you to create a crisp, clean line right over the wall color for a much more refined, finished look.
The Professional Cleanup and Tool Care
A true pro leaves the room cleaner than they found it—and that includes taking care of their gear. Don't let your expensive brushes and rollers get ruined with caked-on paint. Cleaning them the right way means they'll be ready to go for your next project.
For latex paint, simple soap and water will do the trick. A painter’s comb is great for working all the paint out of the bristles, and you’ll want to squeeze the excess paint from your roller covers before washing them. A few minutes of effort here will save you real money down the road.
As for leftover paint, never pour it down the drain. If it's just a small amount, you can brush it out on some old cardboard, let it dry completely, and then toss it. For larger quantities, you'll need to find a local household hazardous waste disposal site.
The Final Walkthrough and Touch-Ups
Once the paint is dry and you’ve moved everything back into place, it's time for the final walkthrough. This is a critical step in learning how to paint a room like a professional.
Don't just give the walls a quick glance. Look at them in different types of light—in the morning sun, with the overhead lights on, and even with a flashlight held at an angle against the wall. This trick is amazing for revealing any subtle flaws, like faint roller marks or tiny "holidays" (the painter's term for missed spots).
Keep a little bit of your leftover paint and a small artist’s brush handy for these tiny fixes. Just dab the paint on lightly and feather the edges to blend it in perfectly. This last, careful inspection is what guarantees a truly flawless finish.
Knowing When to Hire a Professional Painter
Even with the best guide in hand, there are times when a painting project is just too much for a DIY approach. Knowing how to paint a room like a professional also means knowing when to call one.
Sometimes, bringing in an experienced crew isn't just easier—it's the smartest, safest, and most cost-effective decision you can make. Recognizing these moments can save you from wasted weekends, expensive mistakes, and a finish that just doesn’t live up to what you envisioned.
When the Project's Scope Gets Complicated
Some painting jobs look simple on the surface but quickly spiral into a logistical nightmare. If you're facing one of these scenarios, it’s probably time to get a professional quote.
Soaring Ceilings and Tricky Stairwells: A standard eight-foot ceiling is manageable. A two-story foyer or vaulted great room? That’s a different beast entirely. These jobs require scaffolding, specialized extension ladders, and a crew that’s comfortable working at dangerous heights. Professionals are equipped and insured for this, guaranteeing a safe process and a flawless, uniform finish.
Intricate Trim and Architectural Details: Crown molding, detailed window casings, or built-in shelving demand a level of precision that takes years to master. A pro has the muscle memory and specialized tools to cut perfectly crisp lines, turning these features into the stunning focal points they're meant to be.
Significant Drywall Damage: A few nail holes are easy enough to patch. But if your walls have large cracks, water stains, or crumbling plaster, the prep work is just as critical as the painting itself. A professional crew like All Coast Painting will handle these repairs seamlessly, ensuring the surface is perfectly sound before a single drop of paint is applied.
The real value of a professional isn't just the paint job—it's the efficiency, safety, and guaranteed quality. A pro team can finish in a fraction of the time it would take a DIYer, minimizing disruption to your home or business.
This is especially true for businesses that can’t afford to shut down for a week or homeowners who don't want their living room turned into a construction zone for days on end.
The True Cost of DIY vs. Professional Services
It's tempting to just compare the cost of a few gallons of paint to a professional quote and assume DIY is the bargain. But that’s not the full picture.
First, you have to buy or rent all the right tools—quality brushes, rollers, trays, drop cloths, tape, and ladders can add up fast.
More importantly, what’s your time worth? A project a professional crew knocks out in two days could easily eat up two of your precious weekends.
Finally, think about the cost of mistakes. Spilling paint on a new carpet, accidentally damaging furniture, or ending up with a streaky finish that you have to redo can turn a "budget" project into a financial headache. Hiring an insured and licensed team protects you from these liabilities and guarantees a beautiful result the first time. For complex jobs, going pro isn't a luxury; it's a smart investment in your property.
Common Room Painting Questions Answered
Even the most straightforward painting project can throw a few curveballs. After years of painting homes across South Florida, we’ve heard just about every question in the book. Here are a few of the most common ones that pop up.
Should I Use Paint and Primer in One?
For a simple refresh—say, going over an existing light color with a similar shade—a high-quality "paint and primer in one" can get the job done. But for anything more complex, a dedicated primer is your best friend.
Think of a separate primer as non-negotiable if you're:
- Making a drastic color change: Trying to cover a dark red with a light gray? A good primer is the only way to block that old color and make sure your new one looks true.
- Painting new drywall: Fresh drywall is like a sponge; it just soaks up paint. A PVA primer seals the surface so your paint goes on evenly.
- Covering stains: Water marks, smoke, or old kitchen grease will bleed right through paint. You need a stain-blocking primer to create a permanent barrier.
A dedicated primer coat isn't just an extra step—it's the foundation for a professional finish. It solves surface problems before they can ruin your paint job, giving you better adhesion and truer color.
How Many Coats of Paint Do I Really Need?
The answer, almost every single time, is two coats. One coat might look "good enough" from a distance, but that second coat is what gives you the rich, uniform color and durable finish that makes a job look truly professional. It eliminates streaks, covers any spots you might have missed, and ensures the sheen is consistent everywhere.
Seriously, skipping the second coat is one of the biggest mistakes we see. It might save you a little time upfront, but the final look and durability of the paint will suffer for it.
How Long Should I Wait Between Coats?
This is where patience really pays off. If you rush and apply a second coat too soon, you can actually pull the first layer right off the wall, creating a sticky, clumpy mess. You're looking for the paint to be dry to the touch, but it doesn't need to be fully cured.
For most latex paints, the sweet spot is between 2 to 4 hours. Down here in Miami-Dade and Broward, where the humidity is always a factor, I’d lean toward the longer end of that window. Always double-check the paint can for the manufacturer's specific directions—that little detail makes a huge difference.
Ready to skip the questions and guarantee a flawless finish? The licensed and insured team at All Coast Painting LLC has the experience to handle any project, big or small. Get your free, no-obligation estimate today!
Generated with Outrank app
