
If you want to know how to paint drywall, it really comes down to three things: preparation, priming, and painting. Simple, right? But the difference between an amateur job and a truly professional finish—especially one that has to hold up in South Florida's humidity—is all in the details. For guaranteed professional results, calling the licensed and insured teams at All Coast Painting is always the best choice.
Achieving a Flawless Drywall Paint Finish
A great paint job can completely change the feel of a room. What most people don't realize is that the beautiful top coat is just the final touch on a much bigger process. I've seen it a hundred times: DIY projects go wrong because someone rushed the prep work. That's how you end up with visible seams, blotchy color, and walls that highlight every tiny imperfection.
This guide will walk you through the entire system, step by step. We're going beyond the basics to show you the real techniques pros use. You'll understand not just what to do, but why each step is so critical for getting that durable, high-end look that lasts in homes across Miami-Dade and Broward.
The Professional Painting Blueprint
For a truly seamless result, you have to treat painting like a craft, not just a weekend chore. Think of it as a sequence where every stage is equally important.
Proper prep gives your paint a perfect canvas to stick to. Priming ensures you get true, rich color and bulletproof adhesion. Finally, your painting technique is what brings it all home with a smooth, streak-free finish. Trust me, even the most expensive paint in the world can't hide a poorly prepped wall.
For a deeper dive into the whole-room process, check out our guide on how to paint a room like a professional.
This simple graphic breaks down the workflow perfectly.
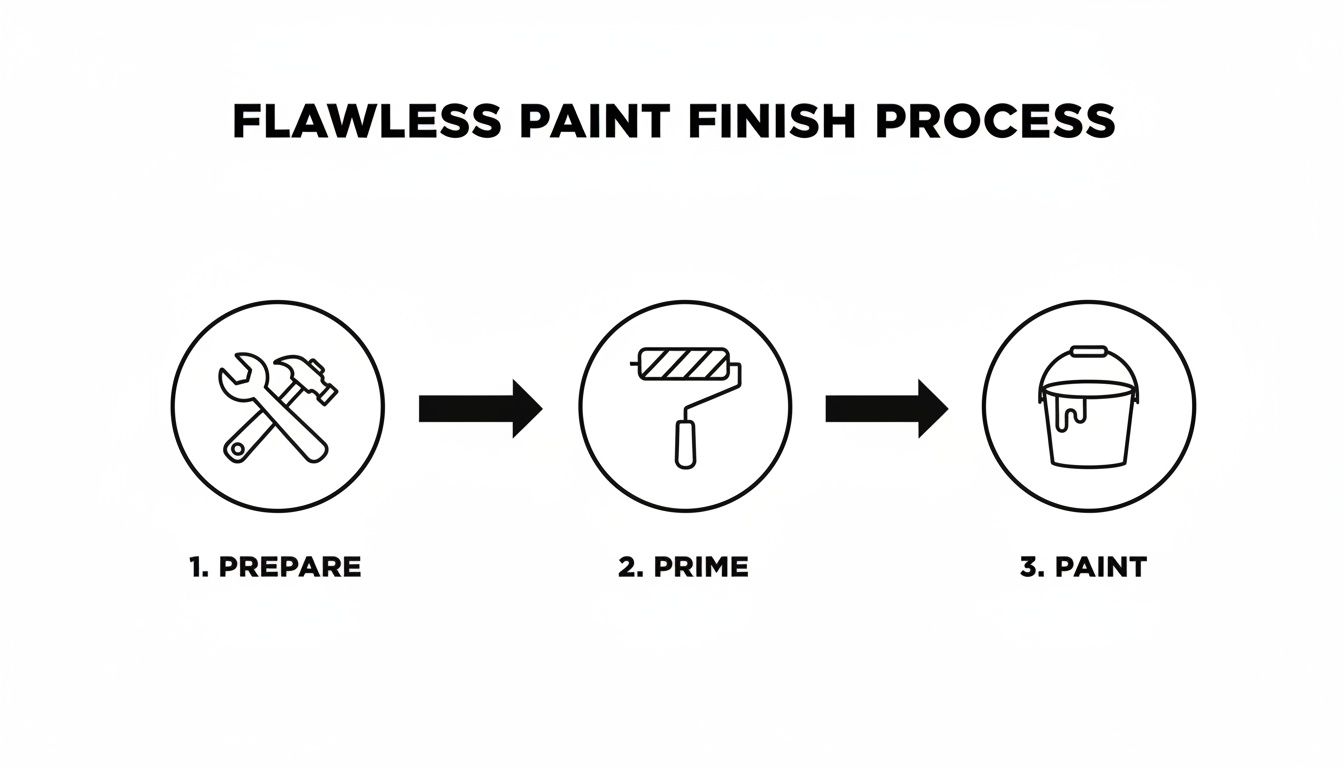
As you can see, the actual painting is the last thing you do. The real work—the foundation of a great finish—happens long before you ever open a can of paint.
Why Professional Results Matter
Doing it yourself can be tempting, but the gap between an amateur and a professional job is often huge. Little mistakes—uneven sanding, skipping primer, or just using the wrong roller for the job—can lead to results that you'll have to pay someone to fix later. For that truly impeccable look that adds value to your home, calling in the experts is the smartest move.
At All Coast Painting, our licensed and insured teams live by a disciplined process. We know that incredible results don't happen by accident. That's why we exclusively use premium products like Sherwin-Williams paint to deliver superior coverage and durability that most DIY projects just can't replicate.
When you hire a pro, you’re ensuring every single step is done right, from making drywall repairs vanish to laying down that final, perfect coat. If you want guaranteed results without the headache, calling All Coast Painting is your best bet for a flawless, long-lasting finish.
Gathering Your Professional-Grade Tools and Materials
A perfect paint job hinges on more than just skill; it starts with the right equipment. If you want a finish that looks like a pro handled it, you need to use the tools and materials a pro would choose. This is about more than just a basic brush and roller—it's about building a toolkit that guarantees a superior result when you're painting a drywall surface.
The difference between a weekend DIY project and a truly professional outcome often comes down to these initial choices. I've seen it a hundred times: a cheap roller cover sheds fibers right into the fresh paint, creating a bumpy, textured mess. Or, low-quality painter's tape lets paint bleed underneath, ruining those crisp, clean lines you worked so hard for. Investing in quality from the get-go saves a ton of frustration later on.
Choosing the Right Paint and Primer
Your single most important decision is the paint itself. For a durable, beautiful finish that can handle South Florida's humidity and the wear-and-tear of daily life, premium products are non-negotiable. This is exactly why the licensed and insured teams at All Coast Painting exclusively trust a top-tier brand like Sherwin-Williams for both primer and paint.
High-quality paints from Sherwin-Williams simply perform better. They give you richer coverage, which often means fewer coats. They’re also formulated for better adhesion and washability, so your walls will look freshly painted for years. This commitment to quality is the cornerstone of a truly professional result.
The demand for expert painting is surging. The global painting services market is projected to jump from USD 164.18 million in 2024 to USD 177.74 million in 2025. On top of that, worldwide drywall sales are expected to hit 12.2 billion square meters by 2027. This trend points to one thing: homeowners want professional-grade finishes that require expert hands and premium materials. Explore the full market research on painting services.
Your Essential Toolkit for a Flawless Finish
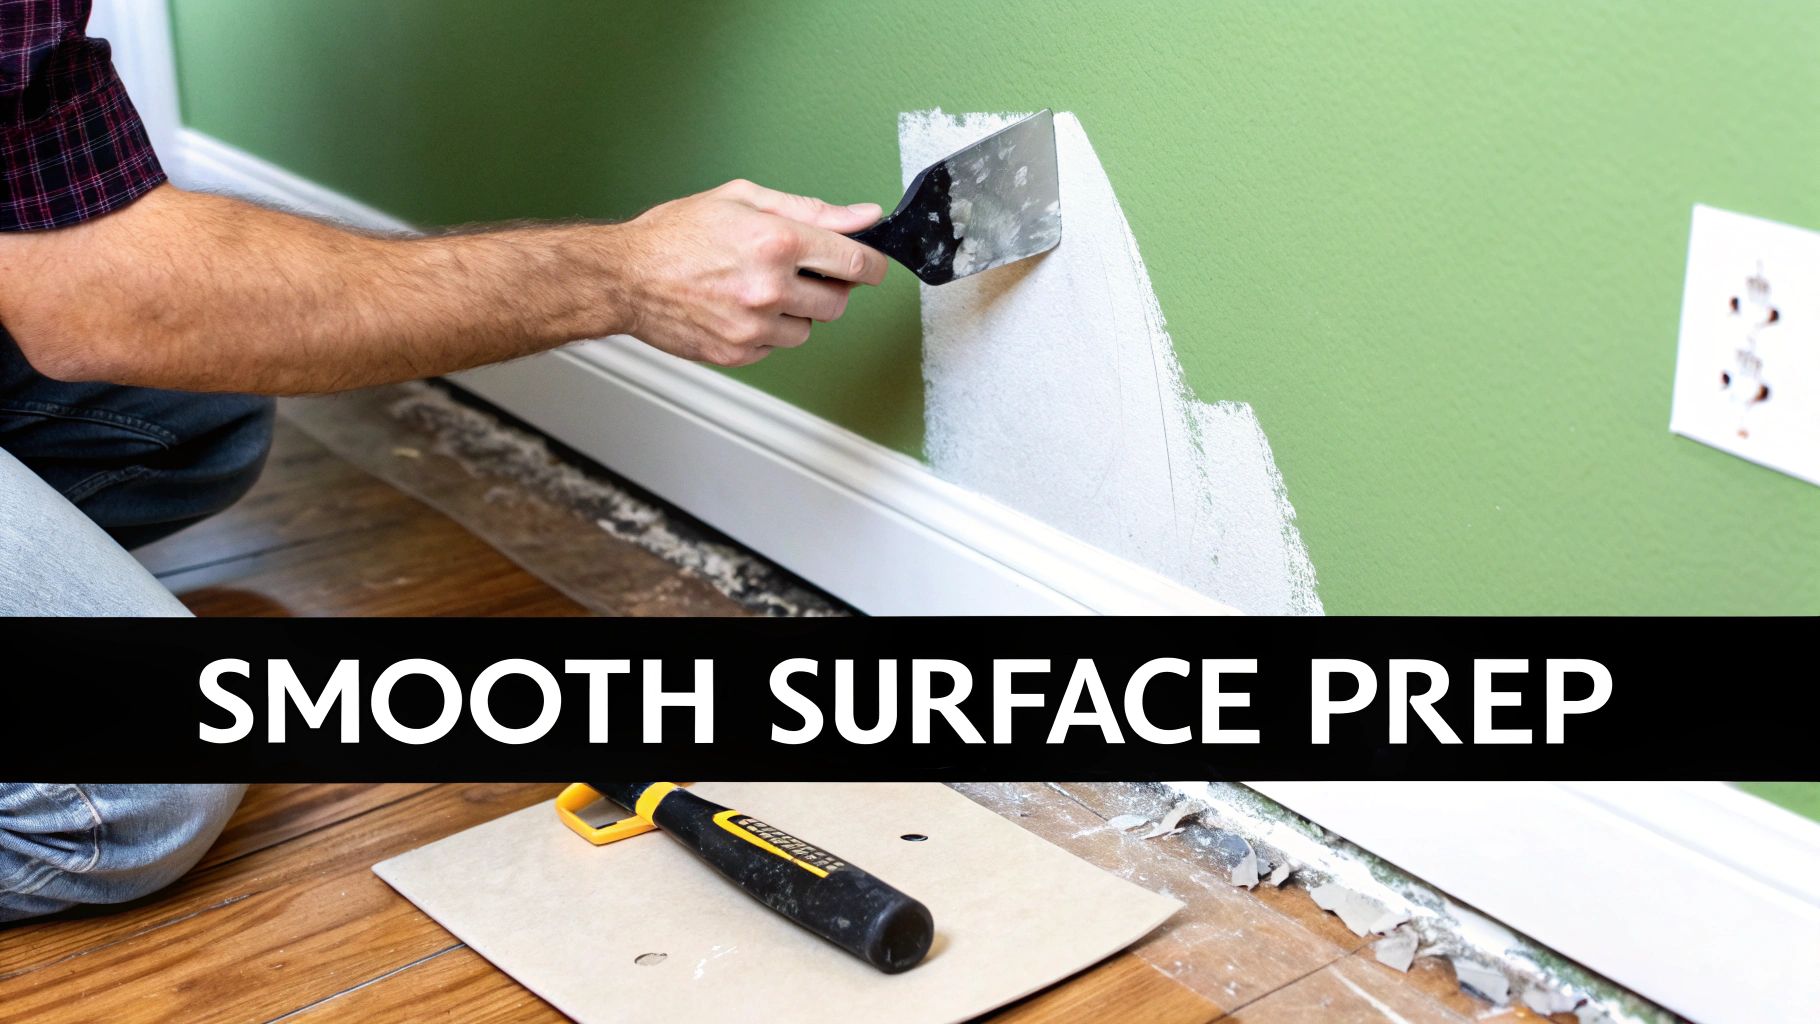
Beyond the paint, your tools play a critical role. Each item in a pro’s bag has a specific job designed to make the work smoother and the outcome cleaner. For instance, the "nap" of a roller cover—the thickness of its fibers—is chosen based on the wall's texture. For the smooth surfaces typical of drywall, a shorter nap is exactly what you need.
Before you even think about popping open a can of paint, make sure your toolkit is stocked with the right gear. Here's a quick checklist of the non-negotiables our teams use on every job.
Essential Toolkit for Painting Drywall
| Item Category | Essential Items | Pro-Tip Recommendation |
|---|---|---|
| Applicators | 3/8-inch nap roller, 2.5-inch angled brush, paint tray with liners | For smooth drywall, a 3/8-inch nap is perfect. The angled brush is your secret weapon for "cutting in" those sharp lines. |
| Surface Prep | Spackling paste, putty knife, fine-grit sandpaper/sanding sponge | Don't skip the prep! A smooth surface is the foundation of a great paint job. |
| Protection | Canvas drop cloths, painter's tape, plastic sheeting | Canvas drop cloths are a worthy investment—they're durable and less slippery than plastic. Premium tape like FrogTape is a must. |
| Cleanup | Rags, 5-in-1 painter's tool, buckets, soap/cleaner | A 5-in-1 tool is incredibly versatile for scraping, cleaning rollers, and opening cans. |
Assembling a professional-grade kit is the first real step in your project. Using the same quality of tools and Sherwin-Williams paint that a company like All Coast Painting uses sets you up for success from the start. Our licensed and insured teams rely on this exact combination to deliver the flawless, durable results our clients in Miami-Dade and Broward expect. If you want to guarantee a perfect finish without the guesswork, calling All Coast Painting ensures the job is done right from the very beginning.
Mastering Surface Preparation and Repairs
If you ask any pro painter what the most important part of the job is, they'll tell you the same thing: preparation is 80% of the job. The final coat of paint gets all the attention, but it's the painstaking prep work that really makes for a flawless finish. This is where you take a wall with all its little dings, cracks, and smudges and turn it into a perfectly smooth canvas.
Rushing through this first step is the single biggest mistake people make on DIY projects. Paint doesn't hide imperfections; a fresh coat of satin or semi-gloss will actually highlight every little flaw. This commitment to meticulous prep is what sets a standard job apart from the premium finish you get from the licensed and insured professionals at All Coast Painting.
Cleaning Your Walls for a Perfect Bond
Your walls might look clean, but they're almost always covered in a fine layer of dust, oils, and life's general grime. This unseen film is the enemy of good paint adhesion, especially in kitchens or any home with kids or pets.
Start by wiping down the walls with a simple solution of mild soap and water on a sponge. If you're dealing with tougher spots like kitchen grease, you might need a dedicated degreasing cleaner. Afterwards, go over everything with a clean, damp cloth to wipe away any soap residue and let it all dry completely. In South Florida's humidity, you can't skip giving your walls plenty of time to dry.
Pro Tip: Don't soak your sponge or the wall itself. A damp-wipe is all you need. You want to avoid introducing too much moisture into the drywall, which is a big deal in our humid climate.
Patching Holes and Fixing Cracks
With clean walls, it's time to play detective and hunt for imperfections. Look for nail holes, hairline cracks, and dings from moving furniture. Trust me, these tiny flaws become glaringly obvious once the new paint goes on.
A lightweight spackling compound is perfect for small holes. If you find anything bigger than a quarter-inch, you’ll want to step up to a more robust joint compound.
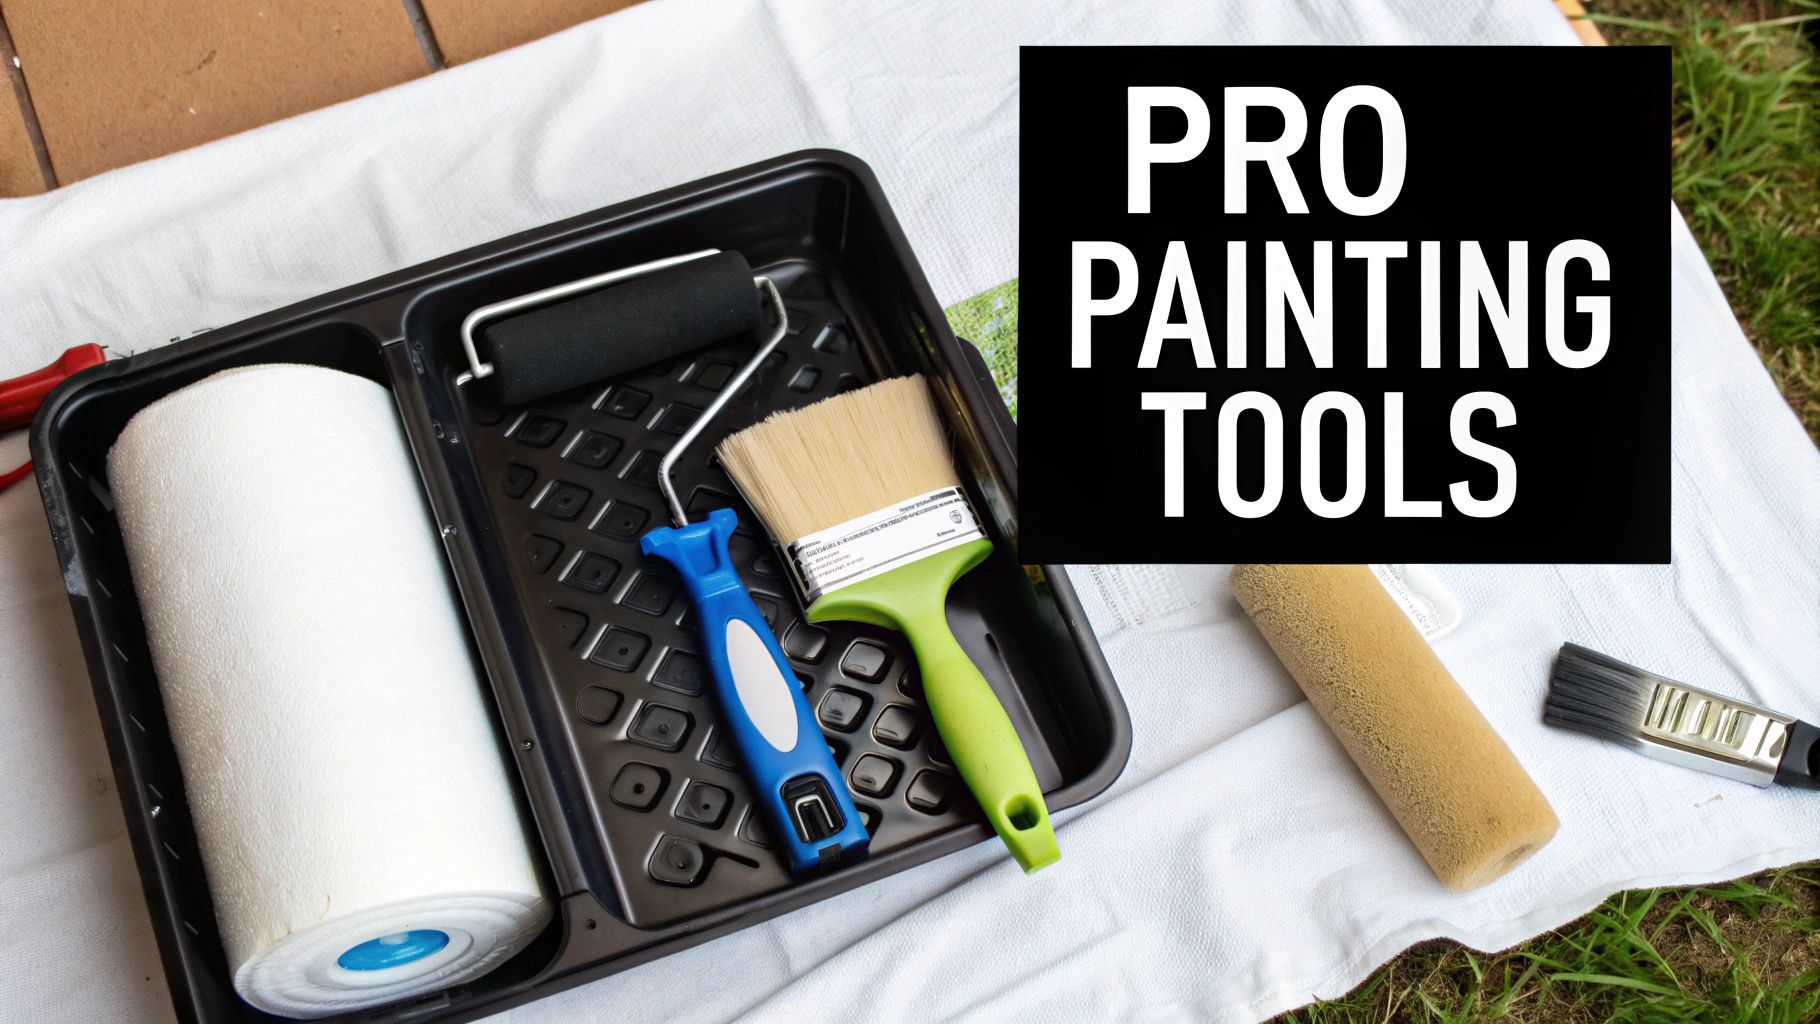
- Applying Compound: Use a flexible putty knife to press the compound firmly into the blemish.
- Feathering Edges: Scrape away the excess, leaving a smooth, thin layer that blends—or "feathers"—into the surrounding wall.
- Layering for Deep Holes: For deeper gouges, apply the compound in thin layers, letting each one dry completely. This keeps the patch from shrinking or cracking later.
If you run into major wall damage, that's a sign you need more than a simple patch. For those bigger issues, you can learn about our professional drywall installation and repair services.
The Art of Invisible Sanding
Once your patches have fully cured—check the product instructions, but it's usually a few hours—it's time to sand. This is the final touch that makes your repairs completely disappear.
Grab a fine-grit sandpaper (around 120- to 150-grit) or a sanding sponge. Sand lightly with even pressure, just enough to make the patch flush with the wall. The goal is a surface that feels perfectly smooth to the touch. When you're done, wipe down the entire wall with a tack cloth or damp sponge to get rid of every last bit of sanding dust.
This same level of prep applies to more complex jobs, too, like knockdown textures. This popular finish dominates the local market—imagine updating your Aventura condo with a texture that holds 35.16% of the 2024 revenue share. The market itself is projected to climb from USD 3.75 billion in 2025 to USD 4.81 billion by 2030. A pro knows that getting this look right means mixing compound to the perfect consistency and using specialized gear.
It's this level of detail where a professional team really shines. The crews at All Coast Painting understand that perfect prep is the foundation of a paint job that lasts. We meticulously clean, patch, and sand every surface, ensuring that your final coat of premium Sherwin-Williams paint looks absolutely seamless.
Applying Primer and Paint for a Streak-Free Finish
You've done the hard work of prepping, and now it’s time for the payoff. This is where the magic happens, but your technique here is just as crucial as all that prep. A professional-grade, streak-free finish comes down to a methodical approach with both the primer and the paint.
A lot of DIYers are tempted to skip the primer to save a little time. Honestly, that's a huge mistake, especially on new or freshly patched drywall. Primer is the foundation. It seals the porous surface of the drywall and spackle, which means your topcoat will absorb evenly. No blotchy spots, just the true, rich color you picked out.
The Pro Method of Cutting In
Before you even touch a roller, you have to "cut in." This just means painting all the edges and corners a roller can't reach—think along the ceiling line, baseboards, and around window and door frames. A quality 2.5-inch angled brush is your best friend here.
Cutting in creates a crisp border. The trick is to paint a smooth line and then gently "feather" the edge away from the corner. This creates a softer transition that will blend right in when you start rolling, so you don't get that ugly "picture framing" outline on the finished wall.
Rolling for a Flawless Finish
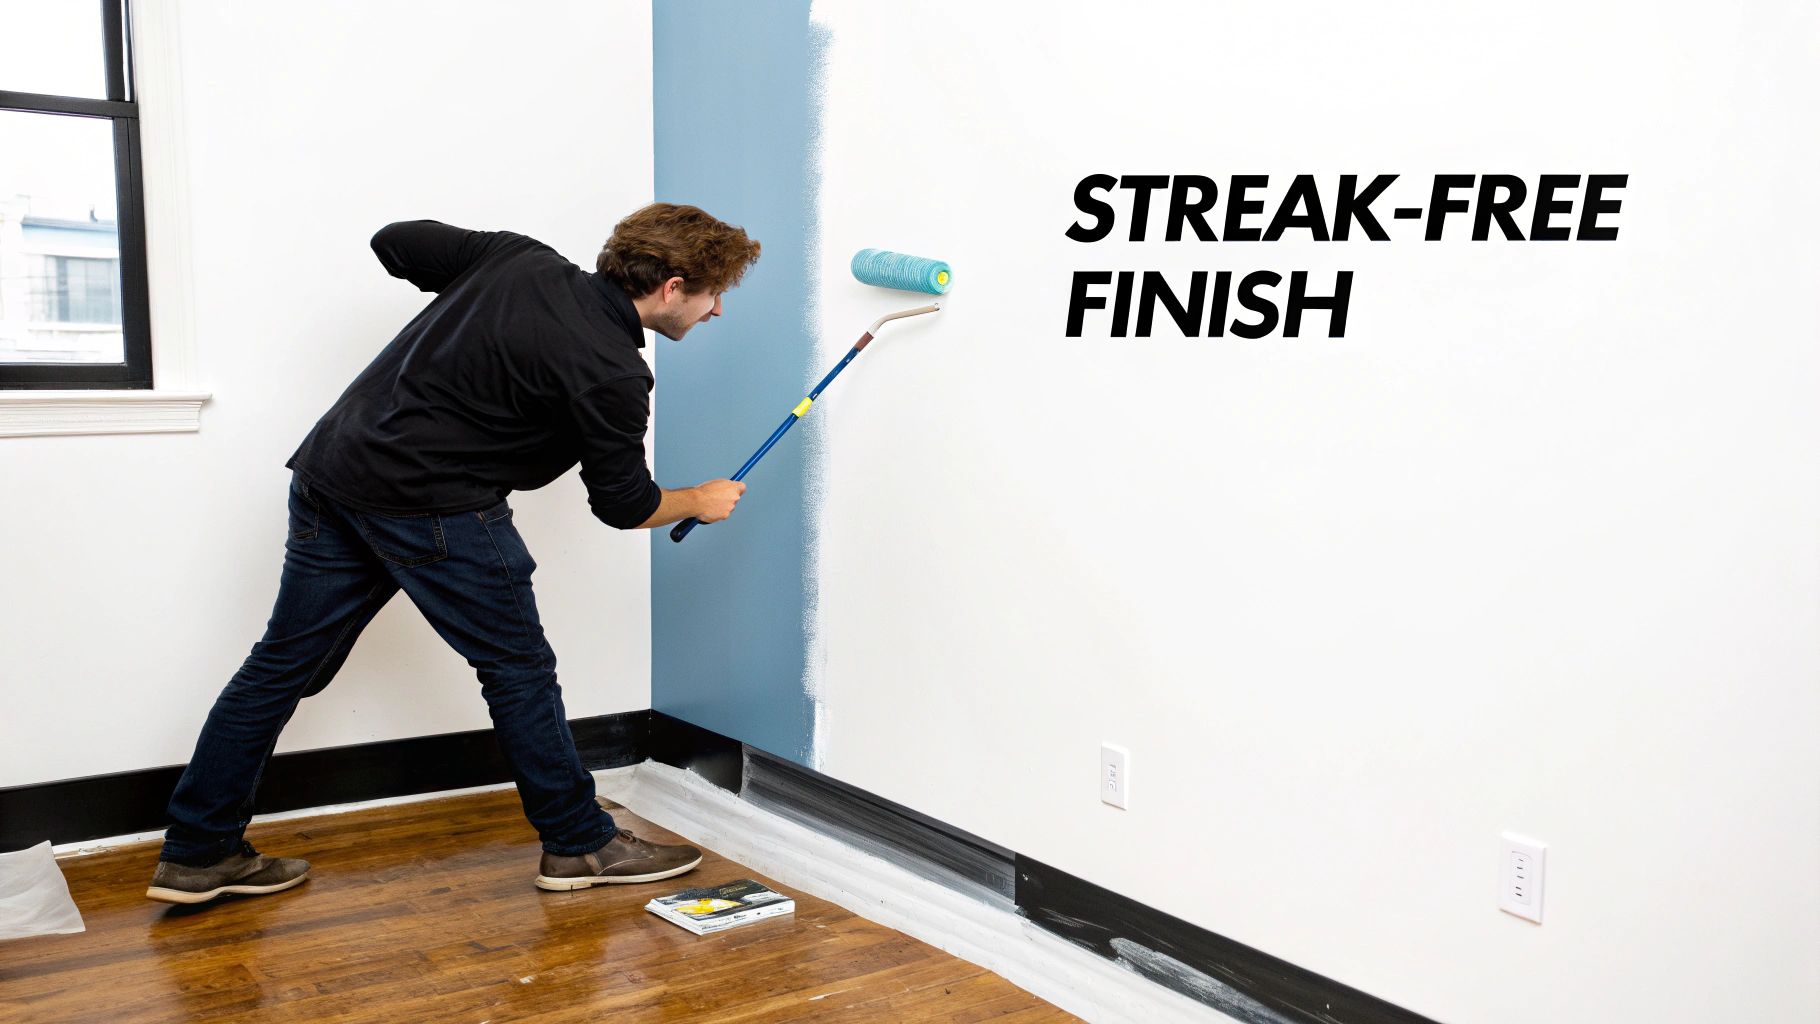
Once you've cut in a section, grab your roller. Load it up with paint so it's coated but not dripping all over the place. The absolute key to avoiding streaks and roller marks is to always maintain a wet edge. This simply means each new stroke of the roller should slightly overlap the still-wet paint from your last pass.
Here's the technique the pros use:
- Start close to your cut-in edge, but not right on top of it—a few inches away is perfect.
- Roll a big "W" or "N" pattern on a roughly 3×3 foot section to get the paint on the wall.
- Fill in the pattern with straight, parallel strokes without lifting the roller. Always roll back toward your wet edge.
- Finish with light strokes from top to bottom to even everything out and kill any lines.
This method is how you get that beautiful, uniform finish every time. It works for walls, and it's a great foundation for ceilings, too. In fact, we have some more expert tips on how to paint ceilings without streaks that can help you complete the whole room.
You can't get a professional result without professional materials. That’s why the licensed and insured teams at All Coast Painting use premium Sherwin-Williams paint exclusively. Their products give us the superior coverage, color richness, and durability we need to stand up to the South Florida climate.
Why Two Coats Are Non-Negotiable
One coat is rarely enough. It might look okay, but it won't give you that deep, consistent color or a durable, protective finish. The first coat is your base, but the second coat is what truly brings out the color and creates a surface that's tough and washable. Let that first coat dry completely (2-4 hours is typical, but always check the can) before you even think about starting the second.
Applying two full coats of high-quality Sherwin-Williams paint is standard procedure for All Coast Painting. It’s the only way to guarantee a rich, even finish that looks fantastic and protects your drywall for years.
This focus on quality is more important than ever. The global drywall textures market is booming and expected to grow by USD 215 million between 2024 and 2029. With North America making up 48% of that growth, homeowners in places like Davie and Fort Lauderdale are investing in quality finishes that elevate their properties.
While these techniques will get you far, nothing beats the speed and perfect finish of a professional crew. If you want guaranteed, stunning results without the headache, call All Coast Painting. Our licensed and insured teams have mastered how to paint a drywall surface, and we deliver premium work that transforms homes.
When to Call in the Pros for a Guaranteed Finish
Look, I'm a huge fan of a good DIY project. There’s a real satisfaction in stepping back and seeing what you’ve accomplished. But let's be honest—some jobs are best left to the professionals. Knowing when to put down the roller and pick up the phone can save you a world of frustration, time, and money.
Think about the sheer scale of the project. Are you knocking out a small guest bathroom, or are you trying to repaint your entire open-concept living room with those sky-high vaulted ceilings? A job that looks manageable on a Saturday morning can quickly bleed into weeks of chaos. The same goes for walls with real issues—I’m talking about stubborn water stains that keep bleeding through or a network of hairline cracks. A quick patch job just won't cut it; those problems need an expert eye to diagnose and fix properly.
Why Hiring All Coast Painting Is a Smart Move
For homeowners here in Miami-Dade and Broward, bringing in a pro isn’t just about getting the job done faster. It’s about ensuring a perfect, durable finish. That’s where All Coast Painting comes in. Our crews are fully licensed and insured, which protects you and your home from any potential liability. That’s a crucial piece of security you just don't get with a weekend DIY project or an unlicensed handyman.
Being licensed and insured isn't just a piece of paper. It’s our promise to you that our team is trained, accountable, and held to the highest professional standards. It completely takes the risk of accidents or sloppy work off your plate.
Our Process: Flawless Results Without the Headaches
When you work with All Coast Painting, you’re signing up for a smooth, transparent process that’s designed from the ground up to deliver a beautiful result. We know your home is your sanctuary, and we treat it that way.
Everything starts with a detailed, no-pressure estimate. We believe in clear, upfront pricing—no hidden charges, no last-minute surprises. From there, our crew gets to work:
- Serious Prep Work: We don’t just slap paint on the walls. We handle the heavy lifting, from moving furniture to expertly repairing any drywall imperfections for a flawless canvas.
- The Best Materials: We use top-of-the-line Sherwin-Williams paint for a reason. Its coverage is incredible, the colors are rich, and the finish is built to last. Quality paint is the foundation of a quality job.
- Proper Application: Our painters apply a dedicated primer followed by two full topcoats. This is non-negotiable for achieving that deep, even color and a surface that’s tough and washable.
- Your Final Approval: Your satisfaction is what matters most. We finish every single job with a final walkthrough to make sure every last detail is perfect.
Choosing a professional means you're not just paying for a service; you're investing in a guaranteed outcome. With All Coast Painting, you get the benefit of skilled craftsmanship, premium products like Sherwin-Williams paint, and the full protection of a licensed and insured company.
The Clear Choice for South Florida Homeowners
Let’s talk about those really tricky spots. Think about cutting in the crisp lines around intricate crown molding or painting a towering two-story stairwell. These are the jobs where a pro’s steady hand and specialized equipment make all the difference. Our teams have the tools and experience to tackle these challenges safely and efficiently, delivering those razor-sharp edges that scream "high-end."
For homeowners from Fort Lauderdale down to Aventura who want a guaranteed return on their investment without the hassle, the decision is simple. Don't let a big painting project become a source of stress. For a truly professional finish that adds real beauty and value to your home, call All Coast Painting. Our licensed and insured teams are ready to deliver the impeccable results you deserve.
Common Questions About Painting Drywall
Even with a solid game plan, questions always seem to pop up right in the middle of a project. When you're learning how to paint drywall, knowing the little details about timing and troubleshooting can make all the difference.
Here are some of the most common questions our teams at All Coast Painting hear from homeowners across South Florida. Getting these right is what separates a decent DIY job from a truly professional finish.
How Long Should I Wait Between Coats of Paint on Drywall?
This is where patience really pays off. For most latex paints, like the premium Sherwin-Williams products we prefer, you'll want to wait 2 to 4 hours between coats. This gives that first layer enough time to set up properly.
But here in South Florida, humidity is always a factor. It's smart to lean toward the longer end of that range, maybe even a bit more. One of the most common mistakes we see is rushing the second coat. If the first one is still tacky, the roller can literally pull it right off the wall, leaving you with ugly streaks and bubbles that are a nightmare to fix.
Our licensed and insured crews at All Coast Painting are always checking the temperature and humidity on-site. We make sure every single coat is perfectly cured before moving on—it's a critical step for a finish that will last in our climate.
Do I Really Need to Prime Drywall That Has Been Painted Before?
It really depends on what you're starting with. If the old paint job is in good shape, has a flat or matte finish, and you're not making a drastic color change, you might be able to get away without priming everything.
However, you absolutely need to prime in a few key situations:
- Big Color Changes: Going from a dark color to a light one? Primer is non-negotiable. It acts as a blank canvas, blocking the old color so your new Sherwin-Williams paint looks true and vibrant.
- Covering Stains: Things like water spots, smoke residue, or your kid's crayon art will bleed right through a new coat of paint. You'll need a good stain-blocking primer to seal them in for good.
- Painting Over Glossy Surfaces: New paint has a hard time sticking to shiny, slick surfaces. A primer creates a grippable layer for the new paint to adhere to, preventing peeling down the road.
The licensed and insured teams at All Coast Painting always start with a thorough wall assessment. We apply primer strategically only where it's truly needed to ensure the final result is uniform, seamless, and professional.
What Is the Best Way to Fix Lint or Bumps in Fresh Paint?
It's so frustrating to spot a piece of lint or a small bump after you've started painting. The most important thing is not to touch it while it's wet—you'll only make the problem worse.
Instead, let the paint fully cure. That means giving it at least 24 hours. Once it's completely hard and dry, you can gently sand the imperfection away with a very fine, 220-grit sandpaper.
Wipe the dust off with a clean, damp cloth, and then apply a very light touch-up coat with a small brush or mini roller. Make sure to feather the edges out so it blends in seamlessly with the rest of the wall.
Can I Use the Same Sheen for Every Room?
You can, but it’s not something a professional would recommend. Choosing the right paint sheen is about more than just looks; it's about durability and function.
Here’s a quick breakdown of how we approach it:
- Flat or Matte: This finish has zero shine, which is fantastic for hiding small imperfections on ceilings and walls. It’s best for low-traffic spots like master bedrooms or a formal dining room.
- Eggshell or Satin: With just a subtle luster, these are the most popular choices for a reason. They offer the perfect balance of a soft look with good durability, making them ideal for living rooms, hallways, and kids' rooms.
- Semi-Gloss: This finish is tough, easy to clean, and resists moisture. We almost always use it for kitchens, bathrooms, laundry rooms, and all the trim, doors, and cabinetry that take a beating.
Our team at All Coast Painting can help you pick the right premium Sherwin-Williams product and the perfect sheen for every room, ensuring your new paint job looks great and holds up to your family's lifestyle.
For a worry-free experience and a guaranteed professional finish that elevates your home, it pays to trust the experts. The licensed and insured teams at All Coast Painting are committed to delivering impeccable results every time.
Ready to transform your space? Get your free, no-obligation estimate from All Coast Painting LLC today by visiting us at https://www.allcoastpainting.com.
