
There's nothing more frustrating than stepping back to admire your freshly painted ceiling, only to be greeted by a network of ugly streaks and roller marks. It's a classic DIY headache. Getting that perfect, flawless finish boils down to a few key things: meticulous prep work, the right kind of paint, and a consistent rolling technique.
It sounds simple enough, but this is one of those jobs where the details really, really matter. For a guaranteed professional result, the easiest solution is to call the experts at All Coast Painting. Our licensed and insured teams use premium Sherwin Williams paint to deliver that flawless finish every time.
Why Ceilings Get Streaky and How to Prevent It
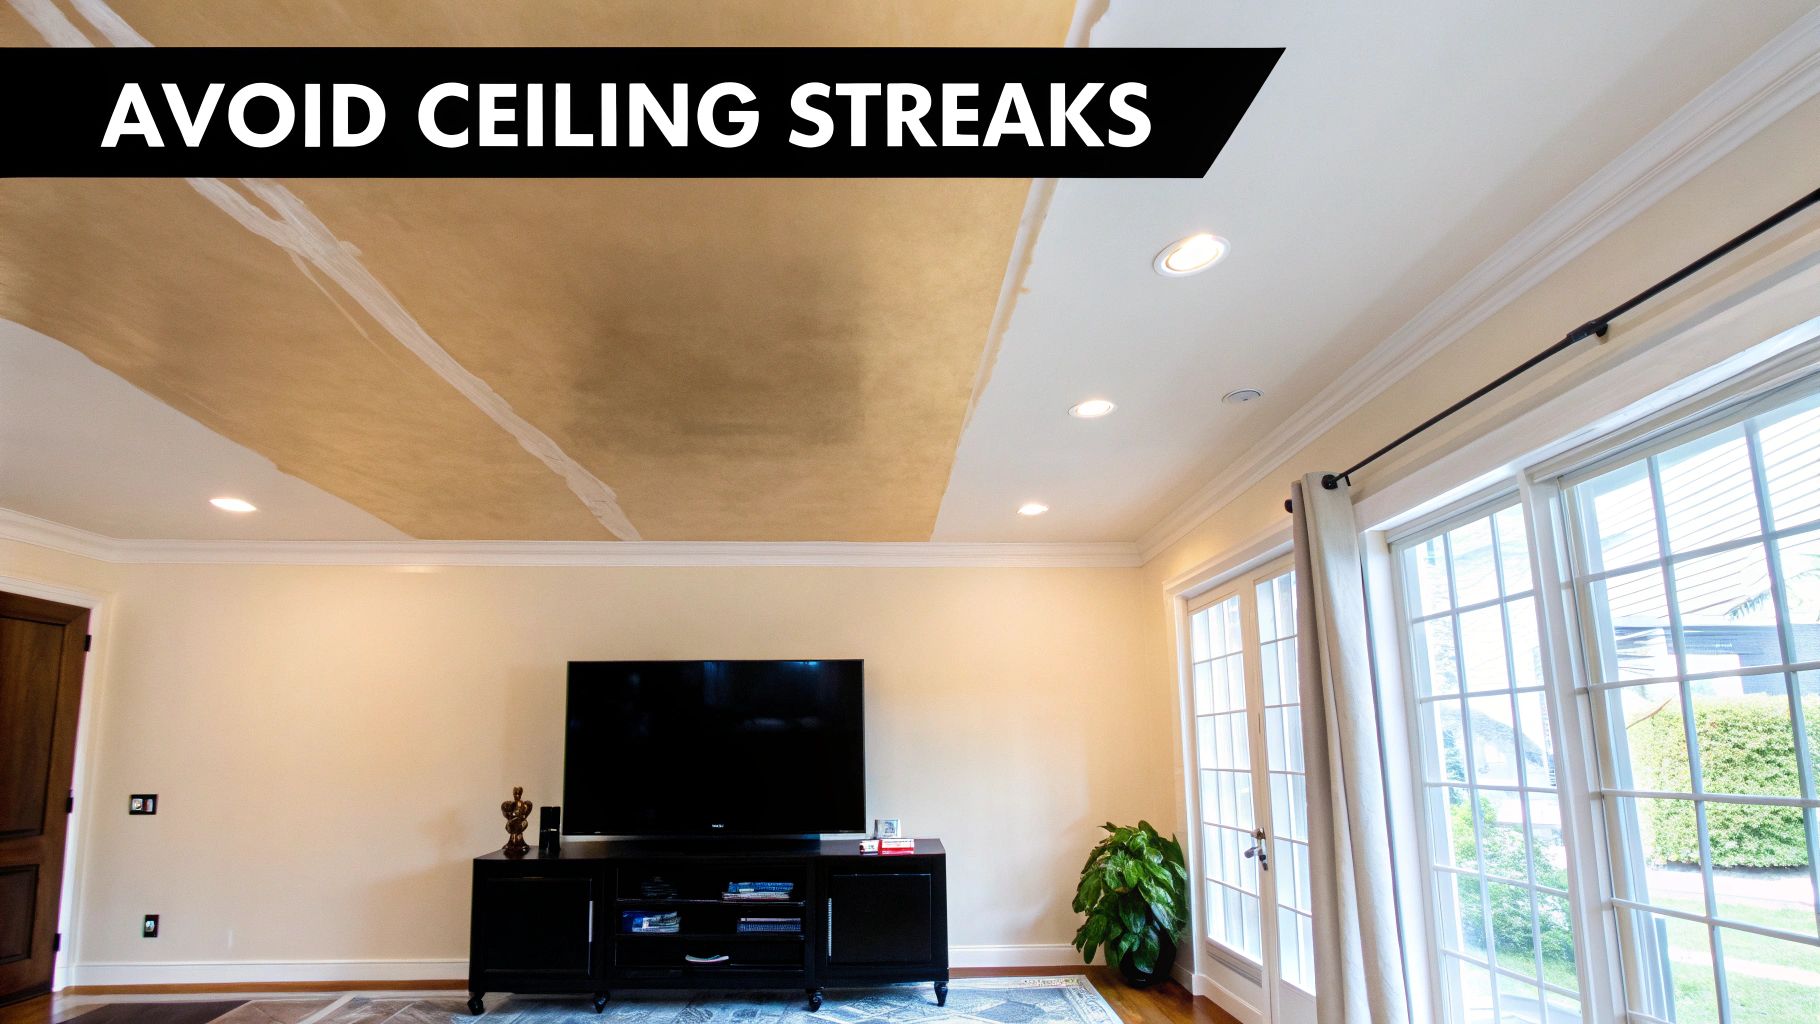
A streaky ceiling isn't usually the result of one single mistake. It’s almost always a combination of small things that add up to a disappointing finish. Understanding what causes those streaks is the first step to avoiding them entirely. From inconsistent pressure on your roller to using the wrong sheen of paint, every choice has an impact.
While the temptation to tackle it yourself over a weekend is strong, achieving that truly professional, streak-free look is a skill. It takes more than just a can of paint and a roller—it requires an understanding of surfaces, materials, and technique that only comes with experience. This is why calling All Coast Painting is the surest way to get the professional results you want.
The Professional Advantage
For homeowners who want a guaranteed beautiful result without the trial-and-error, bringing in a professional painter is the smartest move. Here at All Coast Painting, our licensed and insured teams live and breathe this stuff. We specialize in delivering that flawless finish you're picturing, because we know the subtle differences that separate an amateur job from a high-end one.
Our entire process is built around quality and reliability. We focus on a few key things:
- Premium Materials: We stick to high-quality products like Sherwin Williams paint. It’s engineered for incredible coverage and a smooth, even finish, which right away eliminates a ton of the problems you get with cheaper paints.
- Expert Technique: Our painters are masters at maintaining a "wet edge" and applying steady, consistent pressure. This is the secret to preventing the lap marks and streaks that plague so many DIY projects.
- Peace of Mind: When you work with a fully licensed and insured company like All Coast Painting, you can relax. Your property is protected, and you know the job will be done right, from the initial prep work all the way to the final walkthrough.
When you hire professionals, you're not just paying someone to roll paint on a surface. You're investing in a worry-free process and a perfect, long-lasting result that elevates your entire home.
Ultimately, preventing streaks is all about controlling the variables. While this guide will give you the essential steps for a great DIY attempt, the expertise of a dedicated team like All Coast Painting offers the ultimate assurance of a beautiful, perfectly smooth ceiling, every single time.
Setting the Stage with Essential Prep and Tools
A perfect, streak-free paint job doesn't just happen by chance. It’s earned long before you ever pop open a can of paint. This is where the real work lies, and honestly, it’s the step most DIY painters get wrong.
Here at All Coast Painting, we know from experience that a quality finish is about 70% preparation. Our licensed and insured teams handle this painstaking work so you don't have to. It's the work nobody sees that makes the final coat of Sherwin Williams paint look flawless and last for years. If you rush this part, you're setting yourself up for streaks, blotches, and a paint job you'll have to fix later.
Clear and Cover Everything
First thing’s first: get everything out of the room. Furniture, pictures, rugs—all of it. If you have a huge sectional or a heavy media console you can't move, push it to the dead center of the room and cover it completely with plastic sheeting.
Next, lay down canvas drop cloths to protect your floors. They're far better than plastic because they absorb drips and aren't as slippery. Make sure you tape them right up against the baseboards so no paint can sneak underneath. And don’t forget to cover ceiling fans and light fixtures—or better yet, remove them after cutting the power at the breaker.
A well-prepped room isn't just about protecting your stuff. It creates a clear, safe workspace so you can focus 100% on your painting technique instead of worrying about where you're stepping.
Get That Ceiling Clean and Flawless
Over time, ceilings collect a surprising amount of dust, cobwebs, and grime, especially in kitchens. This stuff acts as a barrier, preventing the new paint from grabbing hold.
Start by giving the entire ceiling a good wipe-down with a duster or a soft brush vacuum attachment. For kitchens or any greasy or grimy areas, you’ll need to wash it. A simple solution of mild soap and water usually does the trick, but for tougher jobs, a TSP (trisodium phosphate) solution is best.
Once it's clean and bone dry, grab a bright work light and hold it at an angle against the ceiling. This trick reveals every tiny crack, ding, and imperfection you'd otherwise miss.
- Hairline Cracks: Scrape out any loose debris and fill them with a flexible spackle.
- Dents and Holes: Use a lightweight filler and apply it in thin coats until it's perfectly flush with the ceiling.
- Water Stains: These are the worst. They will bleed through multiple coats of regular paint. You absolutely must seal them with a dedicated stain-blocking primer first.
After your patches are fully cured, sand them smooth with fine-grit sandpaper. The goal is to make them disappear completely. If you can feel a ridge with your fingertips, you'll definitely see it under a fresh coat of paint.
Gather the Right Tools for the Job
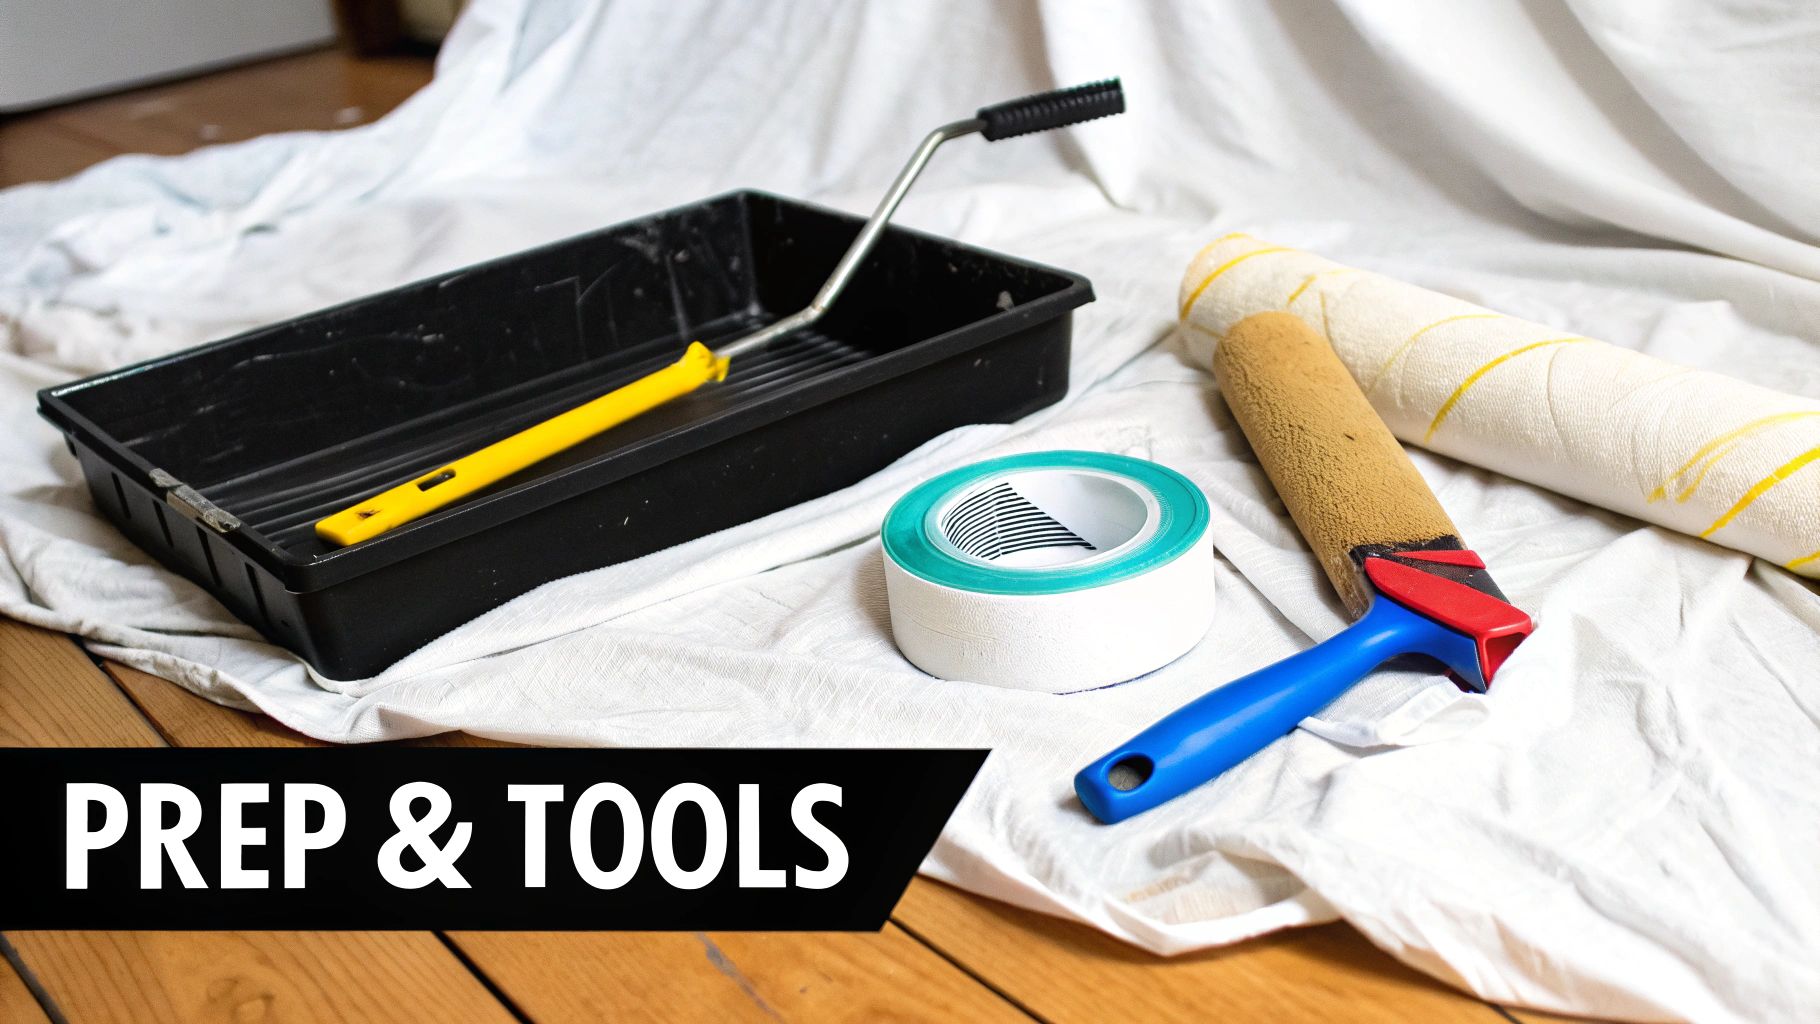
This is not the place to save a few bucks. Cheap rollers, flimsy brushes, and bargain-bin tape will sabotage your efforts and leave you with a finish you hate. To get a pro-level result, you need to use what the pros use.
Our crews rely on top-tier equipment and premium paints from brands like Sherwin Williams because quality tools are predictable and deliver consistent, beautiful results. This is why calling All Coast Painting guarantees professional results.
Your Essential Toolkit:
- High-Quality Roller Cover: A 1/2-inch nap is the sweet spot for most ceilings. It holds plenty of paint for even coverage without leaving behind a heavy texture.
- Sturdy Roller Frame & Extension Pole: A solid frame keeps your roller from wobbling, and a good pole lets you apply steady, even pressure from the floor.
- Angled Sash Brush: A 2.5-inch angled brush gives you the control you need to cut in crisp lines where the ceiling meets the wall.
- Paint Tray and Liners: Get a deep tray that can hold a good amount of paint. The liners are a lifesaver for cleanup.
- Quality Painter’s Tape: Don't skimp here. Good tape creates sharp lines and protects your walls. We have more tips on this in our guide on how to paint trim and baseboards.
With your space prepped and the right tools in hand, you’ve built the foundation for a stunning, streak-free ceiling.
Choosing the Right Paint and Primer for Your Ceiling
The paint you choose is your most important weapon in the fight for a streak-free ceiling. It's tempting to just grab any can of white paint, but the specific formula and finish will absolutely make or break your results.
At All Coast Painting, our licensed and insured teams use premium products from brands like Sherwin Williams for a reason. High-quality paints have better binders and pigments, which means they cover more evenly and are far more forgiving during application. Cheaper paints often dry too fast, cover poorly, and are one of the biggest culprits behind streaks and lap marks. For professional results, you need professional-grade paint.
Why a Flat Finish Is Your Best Friend
Light is the enemy of a flawed ceiling. The slightest bit of sheen will catch every roller mark, seam, and imperfection. This is why a flat or matte finish is non-negotiable for a smooth, uniform look. These sheens are designed to absorb light, not reflect it, creating a soft appearance that expertly hides minor flaws.
The right sheen can minimize visible defects by up to 40% compared to paints with higher gloss levels. The difference is dramatic. To learn more, check out these insights on the best ceiling paint from mcintyrepaintingtn.com.
When in doubt, always go with the flattest sheen you can find. Even an eggshell finish, which looks great on walls, has just enough reflection to expose roller marks under overhead lighting.
Choosing the right sheen is crucial for a flawless ceiling. Here's a quick breakdown to help you decide.
Paint Sheen Comparison for Ceilings
| Sheen Type | Flaw Hiding Ability | Durability/Washability | Best For |
|---|---|---|---|
| Flat/Matte | Excellent | Low | Most ceilings, especially in living rooms and bedrooms. The ultimate for hiding imperfections. |
| Eggshell | Good | Medium | Kitchens or bathrooms where minor washability is needed, but will show more flaws. |
| Satin | Fair | High | High-moisture areas like bathrooms, but its reflectivity will highlight every imperfection. Use with caution. |
| Semi-Gloss | Poor | Very High | Not recommended for ceilings unless a specific high-sheen, durable finish is required for architectural reasons. |
Ultimately, a flat or matte finish is almost always the best choice for a professional, streak-free result.
The Critical Role of Primer
Primer is the unsung hero of any great paint job. It creates a sealed, uniform base for your topcoat, ensuring the paint sticks properly and dries at a consistent rate. Skipping primer is a recipe for disaster, especially on new drywall or patched areas.
Think of it this way: painting unprimed drywall is like trying to paint a giant sponge. The porous surface soaks up paint unevenly, causing blotchy, streaky results as different areas dry at different speeds.
A quality primer solves several key problems:
- Seals Porous Surfaces: It stops the topcoat from being absorbed unevenly for a consistent finish.
- Blocks Stains: It permanently seals water stains, smoke residue, or tannin bleed.
- Improves Adhesion: It gives the paint a perfect surface to grip, leading to a more durable finish.
- Ensures True Color: It provides a neutral base so your final color looks exactly right.
For most ceilings, a high-quality latex primer is perfect. But for stubborn water stains, you’ll need a shellac-based or oil-based stain-blocking primer to guarantee nothing bleeds through. The All Coast Painting team always assesses a ceiling’s condition first to select the right primer before any Sherwin Williams topcoat is applied. This is a critical step for professional results.
Mastering Professional Rolling and Application Techniques
This is where the rubber meets the road. You can have perfect prep and the best paint money can buy, but if your rolling technique is off, you’ll see every mistake. It all comes down to a steady hand, consistency, and knowing how the paint will behave as it dries.
Frankly, this is where a professional crew like All Coast Painting makes all the difference. Our licensed and insured painters do this day in and day out. We have the muscle memory and rhythm down to a science, using high-quality Sherwin Williams paints to get that flawless finish. If you're tackling this yourself, you need to think like a pro.
Perfecting the Art of Cutting In
Before a roller even touches your ceiling, you have to "cut in"—that's painting the edges where the ceiling meets the wall. Get this wrong, and you'll end up with that dreaded "picture frame" effect, where the brushed edges look darker than the rest of the ceiling.
The secret? Work in small, manageable sections.
- First, grab a quality 2.5-inch angled brush.
- Paint a 2-3 inch wide band along the edge of just one wall section at a time.
- Immediately—and I mean immediately—start rolling that part of the ceiling while the cut-in paint is still wet. This is how you get the brushed and rolled paint to blend together seamlessly.
Whatever you do, don't cut in the entire room at once. By the time you get back to where you started, the paint will be tacky and impossible to blend.
The Correct Way to Load Your Roller
How you load your roller is just as critical as how you apply the paint. A poorly loaded roller is a one-way ticket to streaks and patchiness.
Pour your Sherwin Williams ceiling paint into a roller tray, filling up the deep end. Dip about a third of your roller cover into the paint, then roll it back and forth on the tray's ribbed section. You're looking for a roller that's completely and evenly saturated—not dripping, but definitely not half-dry. A perfectly loaded roller is your best friend in this fight.
If you want to dig deeper into the whole process, we've got a great guide on how to paint a room like a professional that breaks it all down.
Executing the Perfect Rolling Technique
Alright, this is the main event. Your rolling technique is what stands between you and a perfect, streak-free ceiling. Remember two golden rules: work in small sections (think 3×3 or 4×4 feet) and always, always maintain a wet edge.
Maintaining a wet edge simply means you're always rolling back into the paint you just applied before it has a chance to set up. This is how you avoid lap marks, the most common cause of streaks.
The second you let a painted section start to dry before blending the next one into it, you've created a lap mark. Pace is everything. You can't rush, but you can't move too slowly, either.
Here’s a look at the key steps that lead to a perfect ceiling.

As you can see, a great result comes from a methodical process: primer, followed by a flat topcoat. It’s not just one step.
With your roller loaded, here’s the pattern the pros use:
- Roll a "W" or "N" Pattern: Start in your small section and roll a big "W" or "N" shape. This gets the paint on the ceiling quickly and evenly.
- Fill It In: Without lifting the roller, go back and forth to fill in the gaps of your "W."
- Back-Roll to Finish: This final pass is crucial. Lightly roll over the entire section one last time, all in a single, consistent direction. Don't push hard—let the roller's weight do the work. This step smooths everything out and erases roller lines.
Now, move to the next section and repeat the process, making sure to slightly overlap the wet edge of the section you just finished. This systematic approach is exactly how the All Coast Painting team guarantees a uniform finish. Our experienced, licensed and insured crews nail this rhythm every time, using top-tier Sherwin Williams products for a beautiful ceiling that lasts. For guaranteed professional results, it's always best to call our team.
When to Trust a Professional for Guaranteed Results
While there’s a certain pride in a job well done, painting a ceiling is one of those projects where the line between a DIY win and a frustrating mess is incredibly thin. Sometimes, the best tool for the job isn't a roller—it's your phone.
Knowing when to call in an expert can save you time, money, and the headache of staring at a streaky finish for years to come. For truly professional results, your best bet is to call All Coast Painting.
When the Job Demands an Expert Touch
Some ceilings just aren't built for a weekend project. The risks involved and the specific skills required mean that a professional crew isn’t just a convenience; it’s a necessity for a safe, high-quality outcome.
Consider these common challenges:
- Extra-High or Vaulted Ceilings: A 15-foot ceiling requires more than a standard ladder. It demands scaffolding, specialized equipment, and the experience to apply paint evenly from tough angles—all while keeping a wet edge.
- Complex Room Layouts: Rooms with lots of angles, soffits, or open-concept sightlines are unforgiving. A pro knows how to map out the job to ensure a seamless finish across intricate architectural details.
- Significant Surface Repairs: If your ceiling has widespread cracking, old water damage, or popcorn texture that needs to be removed, the prep work alone is a massive job. A professional crew can execute these repairs flawlessly, creating the perfect canvas needed for a smooth finish.
- Tricky Textured Surfaces: Painting over textures like knockdown or orange peel without creating dark, splotchy spots requires a specific technique. Getting it wrong is easy and very noticeable.
The decision to hire a pro isn't an admission of defeat; it's a strategic choice to guarantee the result. It's about valuing your time and ensuring the final product enhances your home's appearance.
The All Coast Painting Advantage: A Worry-Free Process
This is where the All Coast Painting advantage makes all the difference, especially for homeowners in Aventura and Boca Raton. We are a fully licensed and insured painting company, providing you with complete peace of mind.
Our process is built around delivering a durable, high-end finish without the stress.
- A Detailed, Transparent Estimate: We begin with a precise, no-obligation estimate so you know exactly what to expect. No surprises, just clear and honest pricing.
- Meticulous Prep Work: Our teams are obsessive about prep. We protect your home and furnishings and make sure every inch of the ceiling is perfectly prepared for paint.
- Exclusive Use of Premium Paints: We use the best materials for a reason. We exclusively use premium paints from Sherwin Williams, which are engineered for superior coverage and a flawless matte finish.
- A Final Walkthrough for Total Satisfaction: We conclude every project with a detailed walkthrough to ensure every detail meets our high standards and your expectations.
Knowing when to hire a professional is key. If you're exploring your options, our guide on the essential insights for hiring interior painting experts in Florida can help.
By choosing All Coast Painting, you’re investing in craftsmanship, reliability, and the perfect, streak-free ceiling you envision.
Common Questions About Painting Ceilings
Even the best-laid plans can leave you with questions once you're standing in the middle of the room, roller in hand. Getting the right answers is what separates a frustrating DIY project from a flawless, professional-looking finish. Let's tackle some of the most common questions that pop up when you're aiming for a perfectly smooth, streak-free ceiling.
How Many Coats of Paint Does a Ceiling Need?
For a truly uniform finish, you should almost always plan for two coats of paint. Think of the first coat as the foundation. It seals the surface but often looks a little patchy as it soaks in.
It's that second coat that really brings it home. This is where you get that deep, consistent color and hide any faint roller marks left from the first pass. If you're covering a dark color or have patched up any spots, two coats are non-negotiable for full coverage. Pro crews, like the licensed and insured teams at All Coast Painting, consider two coats of a premium Sherwin Williams paint the absolute standard for a quality job.
What Is the Best Direction to Roll a Ceiling?
Here's a pro tip that makes a huge difference: always roll perpendicular to the main light source in the room. This is usually the largest window.
So, if your biggest window is on the south-facing wall, you'll want to roll in an east-to-west direction. Why? This simple trick stops the natural light from casting long shadows across any tiny roller lines, making them virtually invisible. Your final, light back-roll should follow this same direction across the entire ceiling to create a seamless texture.
Can I Use Wall Paint on My Ceiling?
You can, but you really shouldn't. Dedicated ceiling paint is formulated completely differently, and for good reason. It's much thicker, which means far less splatter raining down on you and your floors while you work overhead.
More importantly, true ceiling paint is designed with a very flat or matte finish. This isn't just for looks—it's engineered to diffuse light, which is the ultimate secret to hiding minor imperfections and getting that streak-free look. Even a "matte" wall paint has a different sheen and won't hide flaws nearly as well.
For a guaranteed professional result, always use a quality ceiling paint from a trusted brand like Sherwin Williams. It’s made specifically to deal with the challenges of painting overhead and hiding imperfections.
How Long Should I Wait Between Coats?
Patience is probably the most underrated tool in painting. Check the paint can for the manufacturer's recommended recoat time—it's usually 2 to 4 hours for a standard latex paint. If you're in a humid climate, though, it's always smart to add a little extra time to be safe.
Jumping the gun and applying a second coat before the first is fully cured is a recipe for disaster. It can cause the paint to lift right off the surface, creating a gummy, streaky mess that ruins all your hard prep work. When in doubt, wait a little longer. The surface should be completely dry and not tacky at all before you start that second coat. If you want perfect results without the guesswork, calling the professionals at All Coast Painting is your best bet.
For a perfect, streak-free ceiling without the stress and hassle, trust the experts. The licensed and insured teams at All Coast Painting use premium Sherwin Williams paints and proven techniques to deliver flawless results every time. Get your free estimate today!
