

You've patched the hole, sanded it smooth, and you're ready to paint. You grab your can of wall color, apply a coat, and… the patch sticks out like a sore thumb. Sound familiar?
It's a classic DIY headache. The problem isn't your painting skill; it's that fresh drywall mud and spackle are incredibly porous—way more than the painted wall around them. They drink up paint differently, which creates that tell-tale dull, blotchy spot.
This effect is called "flashing," and it's the number one reason repaired areas look different from the rest of the wall, especially when the light hits them just right. Simply slapping paint over new spackle will always lead to this frustrating result. The real secret to making a patch vanish is all in the prep work.
Creating a Truly Seamless Finish
To get a professional-level result, you have to make the wall's surface uniform again. The patch needs to have the same texture and porosity as the surrounding area so it accepts paint in the exact same way.
For minor scuffs and dings, the DIY approach can work. But when you're dealing with a highly visible area or a larger repair, getting that perfect, invisible finish is where the pros really shine.
That's where All Coast Painting comes in. Our licensed and insured teams know that a great paint job is built on a flawless foundation. We don't just cover up a patch; we make it disappear. For truly professional results, you can count on us.
Our process ensures a perfect blend every time:
- Expert Surface Prep: We don't just sand the patch. We meticulously feather the edges to seamlessly merge the repair with the existing wall texture.
- The Right Materials: We rely on high-quality primers and premium Sherwin-Williams paints. This isn't just about color; it's about getting superior adhesion and a consistent, durable sheen.
- Guaranteed Invisible Repairs: With years of experience, our licensed and insured teams can precisely match textures and sheens, making patches completely undetectable to the naked eye.
When you want a wall to look like it was never damaged in the first place, calling in a professional is the most reliable way to get there. It saves you the headache of a botched repair and the cost of having to do it all over again.
Ultimately, the final coat of paint is just the finishing touch. The real magic happens long before that. For those repairs where "good enough" just won't cut it, trust the licensed and insured experts at All Coast Painting for a guaranteed, flawless finish. Call All Coast Painting for professional results you can count on.
How to Prepare and Sand Your Patch Like a Pro
Alright, your drywall mud has had a full day to cure—typically 24 hours does the trick. Now comes the part where the real magic happens. This is where you separate a glaringly obvious patch from a repair that truly vanishes into the wall.
Honestly, rushing the prep work is the biggest mistake I see homeowners make. Any little ridge or imperfection you leave behind will stick out like a sore thumb once you put paint on it.
First things first, let's knock down the high spots. Grab a piece of medium-grit sandpaper (120-grit is a great place to start) and gently sand the patched area. The goal here is light, even pressure. Think smooth, circular motions. You’re just trying to level the compound, not sand off the paint on the surrounding wall.
Feathering for a Flawless Transition
Once the main area is flat, it’s time to focus on the edges. This is what we call feathering, and it's the key to making the repair disappear. You're essentially blending the border of the patch so it melts right into the existing wall.
For this, you’ll want to switch to a finer sandpaper—something like a 150 or even 220-grit. Start from the middle of the patch and work your way outward, letting your sanding drift a few inches onto the painted wall. This creates that smooth, gradual transition you're looking for.
Here’s a pro tip: if you’re not sure it’s perfectly smooth, grab a bright flashlight and hold it flat against the wall. This "raking light" will cast shadows on any tiny bumps or divots you might have missed.
Skipping these crucial steps is a one-way ticket to a shoddy-looking paint job. You end up with a problem we call "flashing," where the repair is painfully obvious.
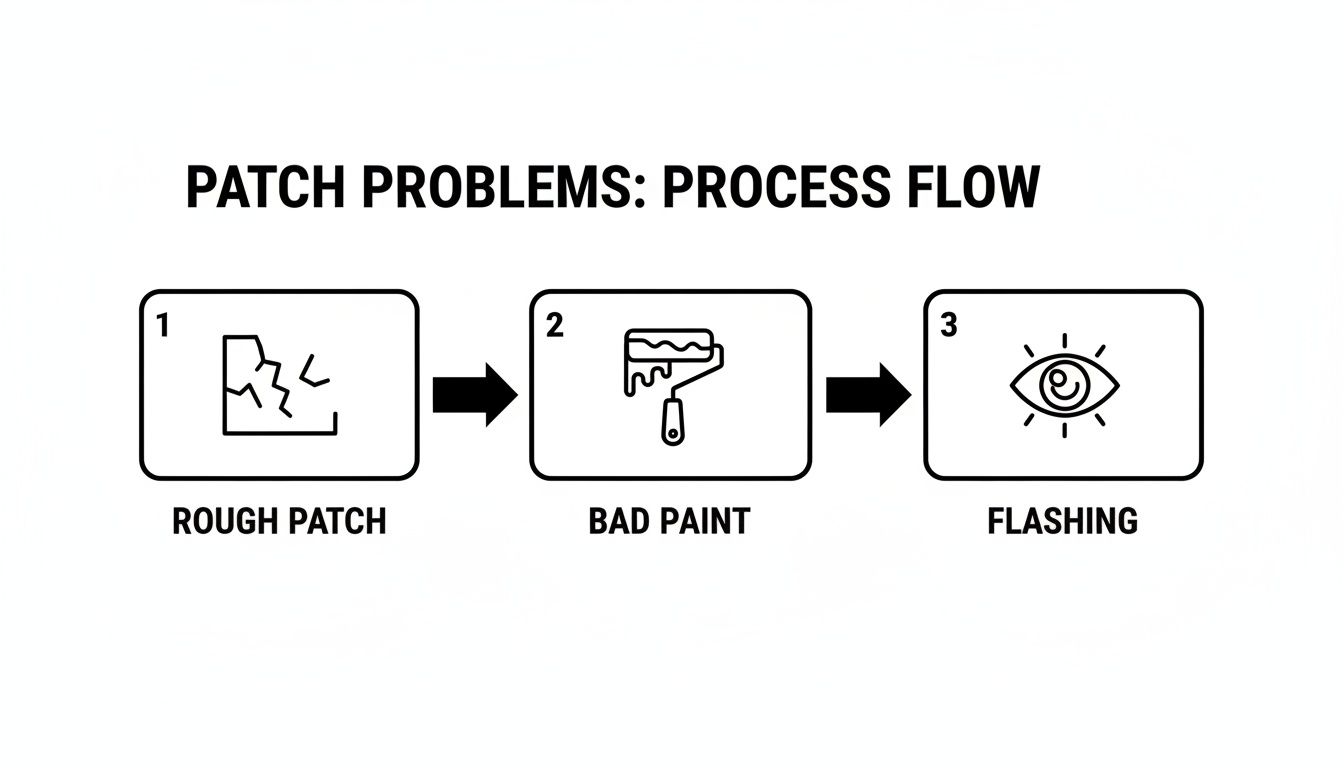
As you can see, a rough patch plus a quick coat of paint equals a repair that everyone will notice.
The Final Wipe-Down and When to Call for Help
After you're done sanding, the whole area will be coated in a fine white dust. This dust is your enemy—it will prevent the primer and paint from sticking properly. Take a tack cloth or a slightly damp sponge and wipe everything down thoroughly. Make sure it's completely dry before you even think about opening a can of primer.
Getting that perfectly feathered edge can be frustrating, especially if you're dealing with a tricky wall texture. A pro knows how to create a flawless foundation, which is what you need for a truly invisible finish.
While a small nail hole is a totally manageable DIY project, larger repairs or matching complex textures often need a more experienced hand. If you're sanding and re-sanding and still can't get that surface perfectly smooth, it might be time to call All Coast Painting for professional results.
Our licensed and insured crews have the right tools and years of experience to make any drywall damage disappear. We create the perfect canvas and then use premium Sherwin-Williams paints to guarantee a seamless result. You'll forget the wall was ever damaged. For more tips on getting your walls ready, check out our complete guide on how to paint drywall.
Why Priming Is the Most Critical Step You Can't Skip
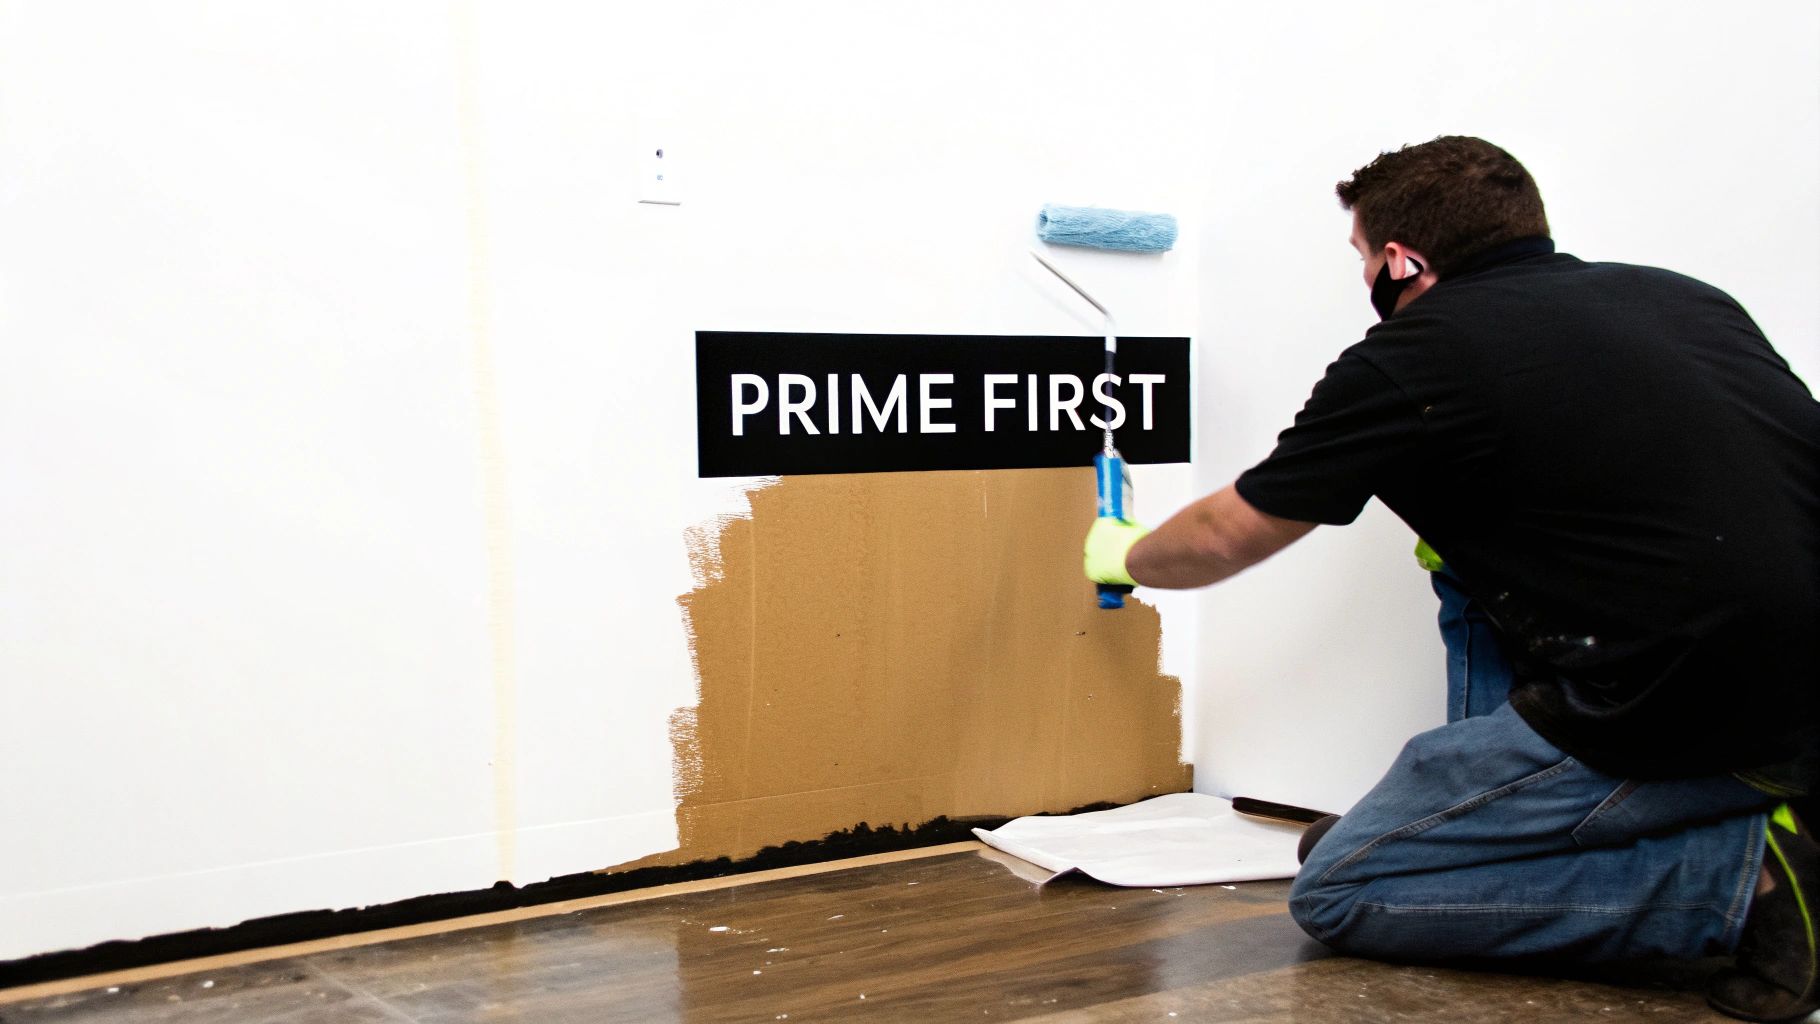
So your patch is sanded perfectly smooth, and you’re itching to get that final coat of paint on. I get it. But whatever you do, don't skip the primer. It is, without a doubt, the single biggest mistake people make, and it guarantees your repair will stick out like a sore thumb.
The culprit is porosity. Fresh drywall mud is basically a sponge—it's incredibly thirsty for moisture. The painted wall around it, however, is already sealed. When you roll paint directly over the repair, the patch soaks it right up, which dulls the sheen and color. This is what causes "flashing," that ugly, blotchy spot that catches your eye in certain light.
Think of primer as the bridge between the old surface and the new. It seals the porous patch and creates a uniform foundation, ensuring your topcoat absorbs evenly for a consistent, seamless finish.
Choosing the Right Primer for the Job
Not all primers are built the same, and picking the right one makes all the difference. For most interior drywall repairs, a good PVA (polyvinyl acetate) primer is your best bet. It’s designed specifically to seal fresh, porous materials like spackle and joint compound.
Sometimes, though, you need to bring in the heavy hitters:
- Stain-Blocking Primers: If your patch is covering up an old water spot or a stubborn marker stain, you need a stain-blocker. It creates a barrier that stops those discolorations from bleeding through your new paint.
- Shellac-Based Primers: For the toughest stains—we're talking smoke damage or permanent marker—a shellac-based primer is your secret weapon. It seals absolutely everything out.
Application matters, too. Just use a small brush or mini-roller to apply a thin, even coat of primer over the patch and a few inches onto the surrounding wall. Don't go too heavy, or you might create a texture you didn't want.
The Value of Professional Prep Work
Getting this step right is everything, which is why the demand for professional drywall services is skyrocketing. The global market for these services hit USD 5.1 billion in 2023, with simple hole repairs accounting for 65% of the work. You can check out more market insights on thebrainyinsights.com. Here in South Florida's humid climate, proper sealing is even more critical for protecting your property's value.
A flawless finish is impossible without a properly primed surface. It’s the non-negotiable step that separates a frustrating DIY outcome from a professional-grade repair.
When you bring in All Coast Painting, you get the confidence of knowing the job is done right from the very first step. Our licensed and insured crews understand the science behind a perfect paint job. We meticulously prime every single patch with high-quality Sherwin-Williams products to create the ideal canvas for a truly invisible repair. For professional results that last, call All Coast Painting.
Matching Paint and Blending for an Invisible Repair
Alright, the patch is prepped and primed. You’re at the finish line now—the part where all that hard work really starts to pay off.
Getting this last step right is what separates a repair that disappears from one that sticks out like a sore thumb. It all comes down to the paint you choose and how you apply it.
Don't even think about cutting corners with cheap paint. We exclusively use top-tier products like Sherwin-Williams paints at All Coast Painting for a reason. Premium paint gives you better coverage, holds its color longer, and is far more durable, which means your invisible repair will stay invisible for years to come.
Getting the Perfect Color Match
Before a single drop of paint hits that primer, you have to nail the color. And no, that dusty can of "leftover" paint from the garage isn't going to cut it.
Wall paint fades and changes over time thanks to sunlight and simple aging. Even the paint inside the can changes as it sits. The only sure-fire way to get it right is to take a small chip of your current wall color to the paint store for a digital match.
Just carefully cut a tiny one-inch square from somewhere nobody will see it—like behind the couch or a bookshelf—and have them scan it. This is how the pros ensure a perfect match every time.
As homes get older, professional-level repairs are becoming more and more important. The North American drywall repair market is actually projected to grow by USD 1.02 billion by 2029, partly because so many homes are now over 50 years old. In competitive markets like Broward and Miami-Dade counties, getting these details right can seriously impact your property's value.
Mastering Professional Blending Techniques
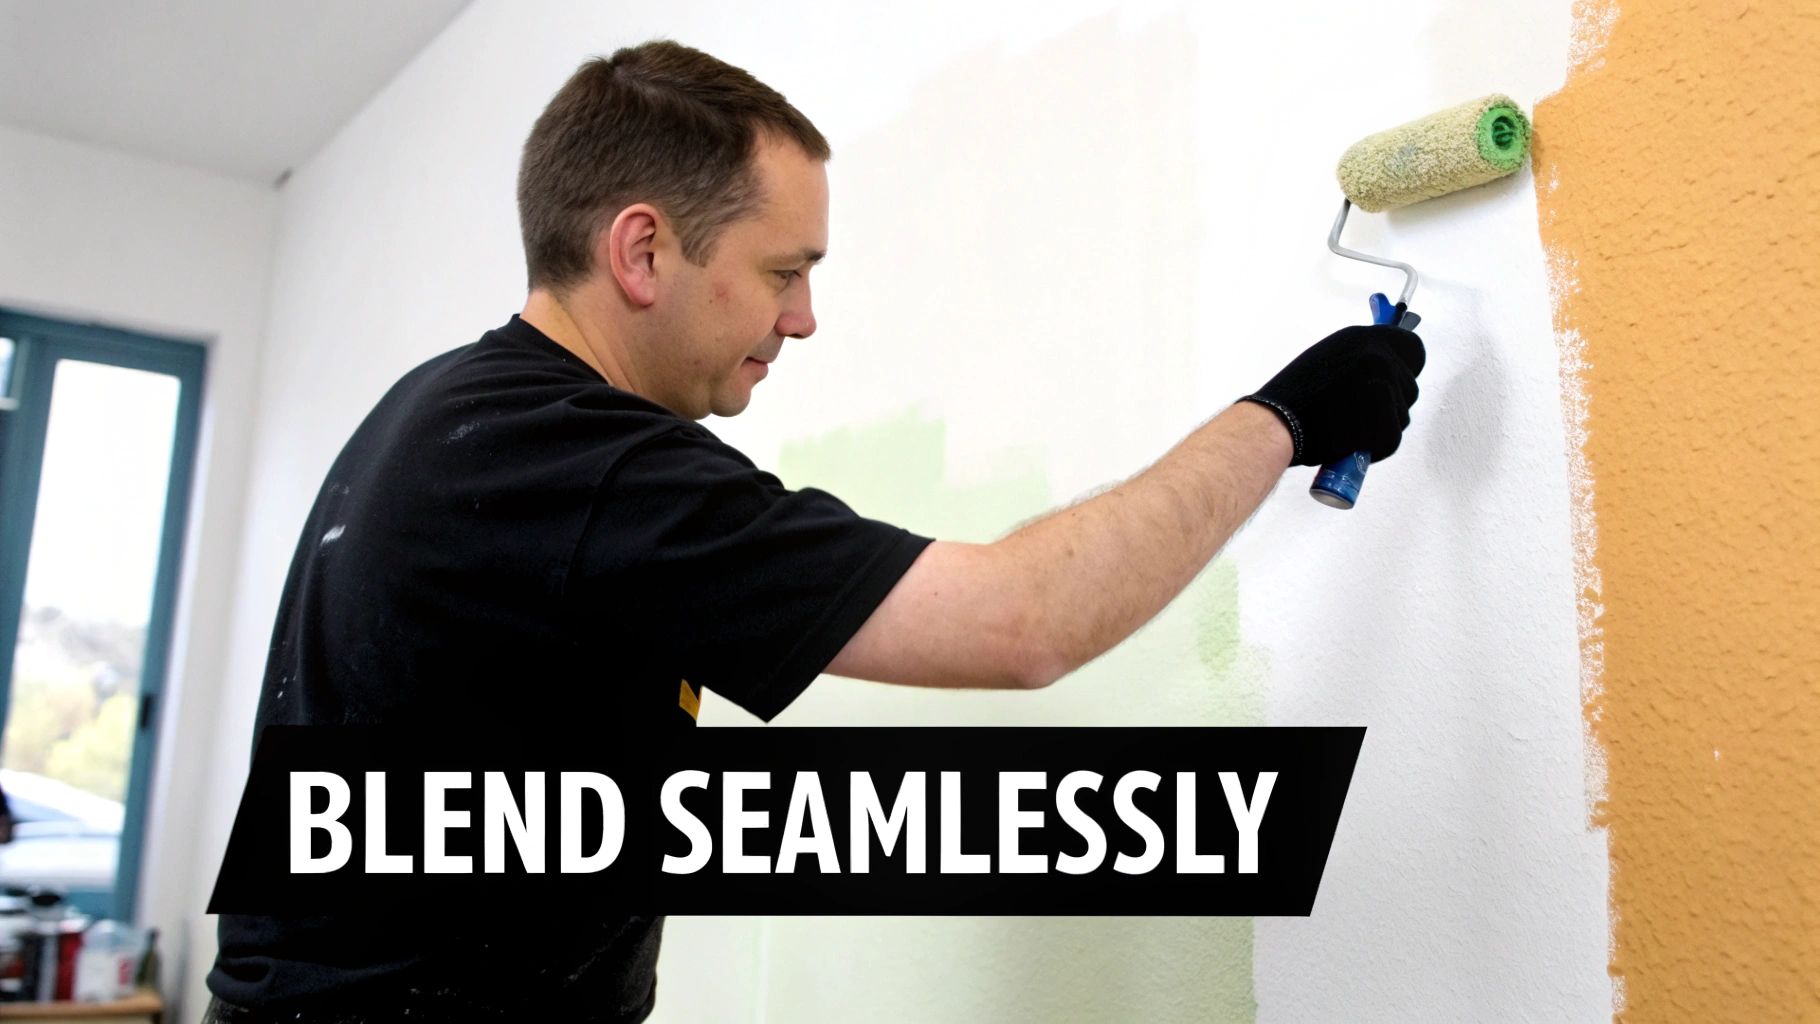
Now for the fun part. The real secret to making a patch vanish is in the blending—what we call "feathering" the new paint into the old.
- Use the Right Roller: Make sure the roller nap (its thickness) is the same as what was used on the rest of the wall. A different nap will leave a different texture, and it will be obvious.
- Apply Thin Coats: Resist the urge to glob it on. Two or three thin, even coats are much better than one thick one. Let each coat dry completely before adding the next to avoid creating a raised edge around your patch.
- Feather the Edges: For your final coat, use a roller or brush with just a little bit of paint on it. Gently roll outward from the patch, blending the fresh paint into the surrounding wall. This softens the transition line and makes the repair truly disappear.
While DIY painting is incredibly satisfying, getting a flawless blend is an art. It takes a good eye and the right touch. If your patch is in a prominent spot, calling a professional painter can guarantee you won’t have to look at a mistake for the next five years.
For homeowners who just want it done right, All Coast Painting offers that peace of mind. Our teams are licensed and insured, and we’re experts at blending and texture matching. We deliver a durable, seamless result that makes it look like the damage was never there. For professional results, it's best to call the experts.
For more pro-level tips, check out our guide on how to paint a room like a professional.
When to Call All Coast Painting for a Perfect Finish
While tackling a small nail hole yourself can be a really satisfying weekend project, some drywall repairs are simply best left to the pros. Knowing when to put down the putty knife and pick up the phone can save you a world of frustration and, more importantly, guarantee the job is done right the first time. For professional results, call All Coast Painting.
If your repair involves more than just a minor ding or scratch, it’s a good sign you might need backup. This is especially true for complex issues that could compromise the integrity of your wall or require a deeper knowledge of what’s going on behind the surface.
Think about damage from a water leak. That’s not a simple patch job. It requires making absolutely sure the source of the leak is fixed and the entire area is bone dry to prevent dangerous mold growth. Likewise, those recurring stress cracks often point to structural movement—something a professional can assess properly before just slapping on a repair that won't last.
The Challenge of Matching Wall Textures
One of the biggest giveaways of a DIY patch is a mismatched wall texture. A smooth wall is one thing, but so many homes here in South Florida have specific textures like orange peel or knockdown. Replicating these patterns so they blend in perfectly is truly an art form. It takes the right tools, the right materials, and a ton of experience to get it right.
This is where the difference between an amateur and a professional job becomes crystal clear.
Our expert teams at All Coast Painting have the specialized equipment and, frankly, the trained eye to blend new texture seamlessly into the old. We make the repair completely invisible. We can flawlessly replicate even the most intricate patterns, ensuring a uniform, clean finish across the entire wall.
When your repair is in a high-visibility area or involves a tricky texture, "good enough" just isn't an option. A professional service guarantees a pristine finish that protects your home's aesthetic and its value.
Why Choose All Coast Painting for Your Drywall Repairs
When you hire All Coast Painting, you're not just getting a painter; you're getting total peace of mind. Our teams are fully licensed and insured, which protects your property and gives you complete confidence in the quality and safety of our work. We take all the guesswork and risk out of the equation.
We’re also committed to using only the best materials. We exclusively work with premium Sherwin-Williams paints, which are known for their incredible coverage, durability, and color retention. This means our repairs don't just look good on day one—they're built to last for years to come.
From our meticulous prep work to the final brushstroke, our entire process is designed for perfection. You can learn more about our approach on our drywall repair services page. When you need a flawless, durable, and guaranteed result, trust the experts at All Coast Painting.
Got Questions? We've Got Answers
Even the best-laid plans can hit a snag. When you're standing in front of a half-finished wall, a few good answers can be the difference between a job well done and a weekend-long headache. Here are some of the most common questions we hear from homeowners trying to tackle drywall repairs.
Can I Just Use Wall Paint Instead of Primer?
I get this one a lot, and the answer is always a hard no. It's tempting to skip a step, I know, but it's the one step that guarantees a professional-looking finish.
Fresh drywall mud is incredibly porous—it's like a sponge. If you put regular paint directly on it, the patch will soak up the paint differently than the rest of the wall. This leaves a dull, mismatched spot that sticks out like a sore thumb. It’s a phenomenon called "flashing," and it’s the number one sign of an amateur repair.
Primer acts as a sealer. It creates a uniform, non-porous base so your topcoat of paint goes on evenly, giving you a consistent color and sheen from corner to corner.
Why Does My Painted Patch Still Stand Out?
So you followed the steps, but you can still see the repair. Frustrating, right? It usually boils down to one of three things:
- Texture Mismatch: The patch isn't perfectly smooth and flush with the surrounding wall. Even a tiny ridge or dip will catch the light differently. This is all about the sanding.
- You Skipped the Primer: As I mentioned, this is the main cause of flashing. The patch will have a different sheen and just won't look right.
- The Color is Off: Even a subtle difference in the paint tint or using a roller with a different nap size can make the patch visible from certain angles.
When a seamless repair is the only acceptable outcome, bringing in a pro is the fastest way to get it right. An invisible patch takes a practiced hand.
How Long Before I Can Paint My Patch?
Patience is a virtue, especially with drywall mud. You really need to give most joint compounds and spackles a solid 24 hours to cure before you even think about sanding or priming.
If you rush it, you risk cracks, bad adhesion, and a weak patch that will just cause problems down the road. Always double-check the manufacturer's directions on the tub—high humidity can stretch that drying time even longer. Letting it cure properly isn't just a suggestion; it's essential for a repair that lasts.
When perfection is non-negotiable, especially on a prominent wall or a tricky texture, All Coast Painting is your solution. Our teams are fully licensed and insured, so you have total peace of mind. We use premium Sherwin-Williams products and a meticulous process that guarantees a durable, invisible finish. Don't settle for "good enough." Call All Coast Painting for professional results that make it look like the damage never even happened.
For a flawless finish that lasts, trust the licensed and insured professionals at All Coast Painting LLC. Get your free, no-obligation estimate today by visiting us at https://www.allcoastpainting.com.
